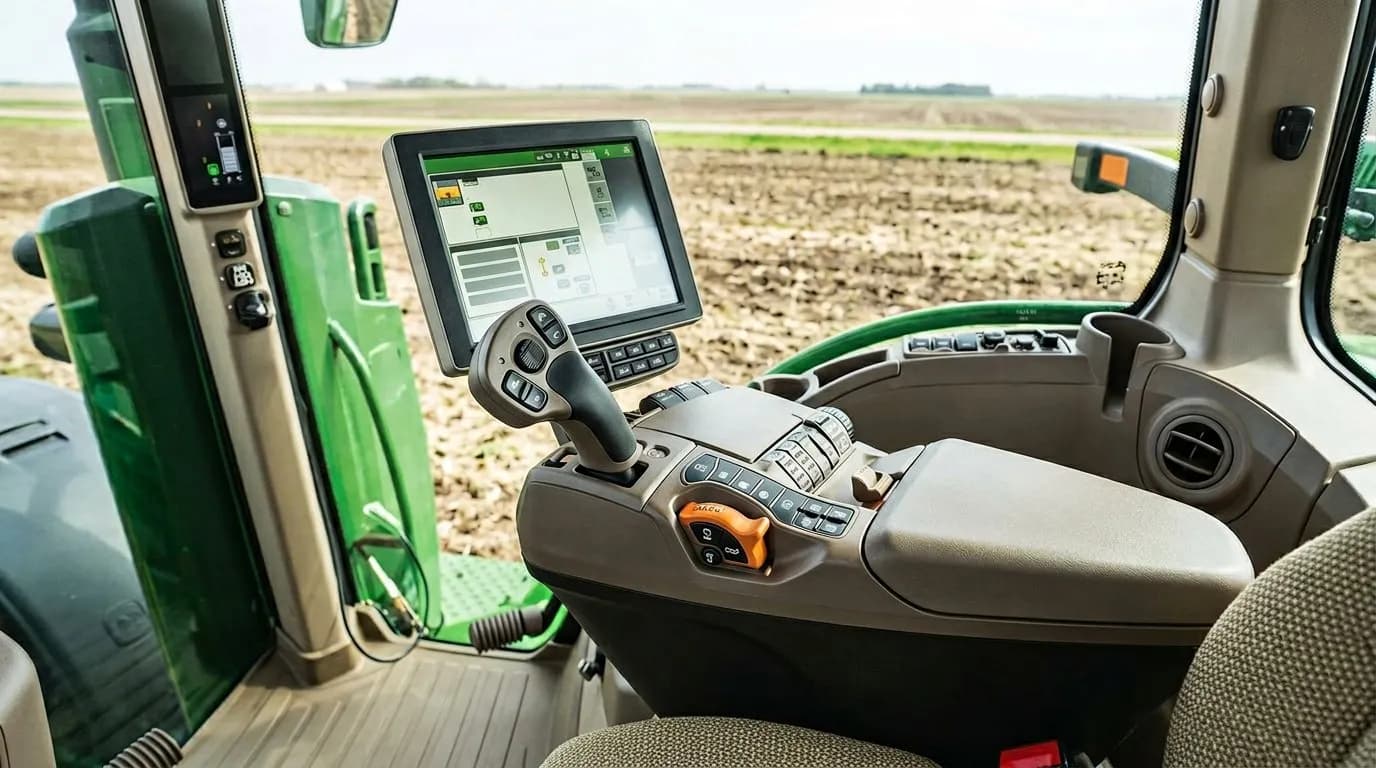
You have an older implement that works perfectly. It has solenoid valves, work lights, maybe some hydraulic functions. Right now, every tractor it connects to needs its own switch panel, relay box, and custom wiring in the cab.
Move the implement to a different tractor? Rewire everything. Or keep duplicate setups in every cab.
The Old Way
- Switch panel and relay box installed in each tractor's cab
- Custom wiring from cab to implement — different for every tractor
- Switches take up space and don't integrate with the tractor's controls
- No CAN bus connection — the tractor doesn't know the implement exists
The Modern Way: Install ISOBUS Block on the Implement
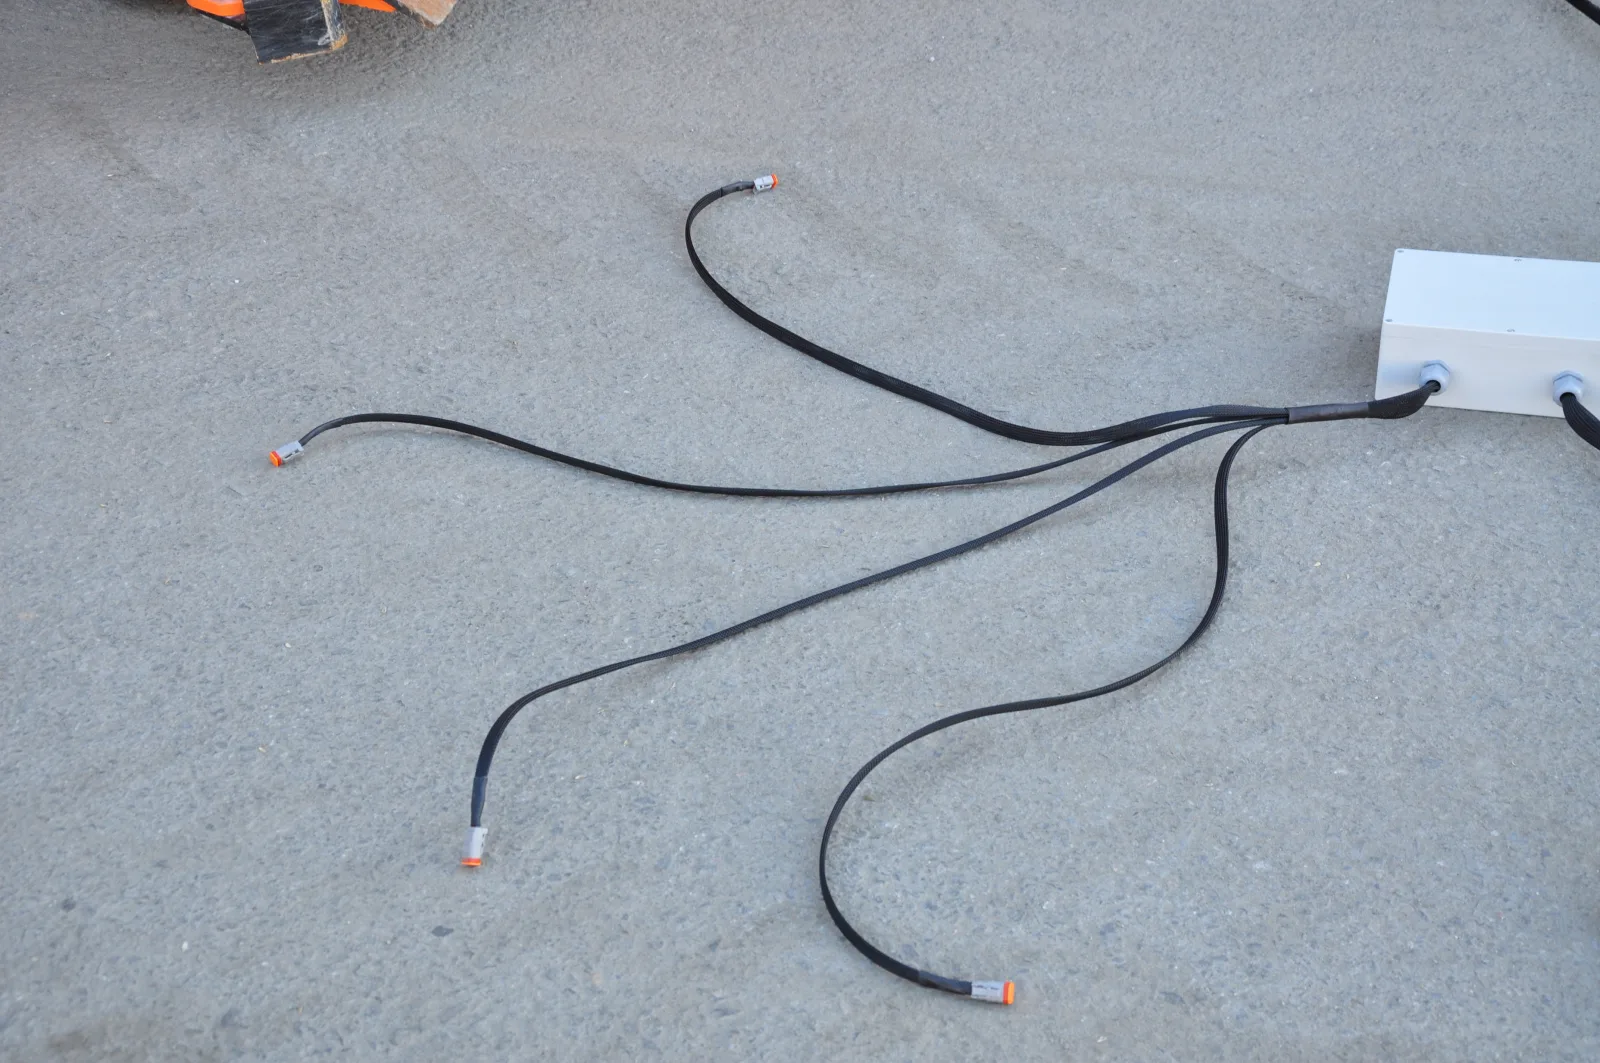
Mount ISOBUS Block on the implement itself, inside a weatherproof enclosure you supply — the module's own DIN-rail housing is IP20, built for a cab or a panel, not for the back of a drill. Connect the implement's existing solenoids and lights to the Block's relay terminals. Run one cable from the Block to an ISOBUS connector on the implement.
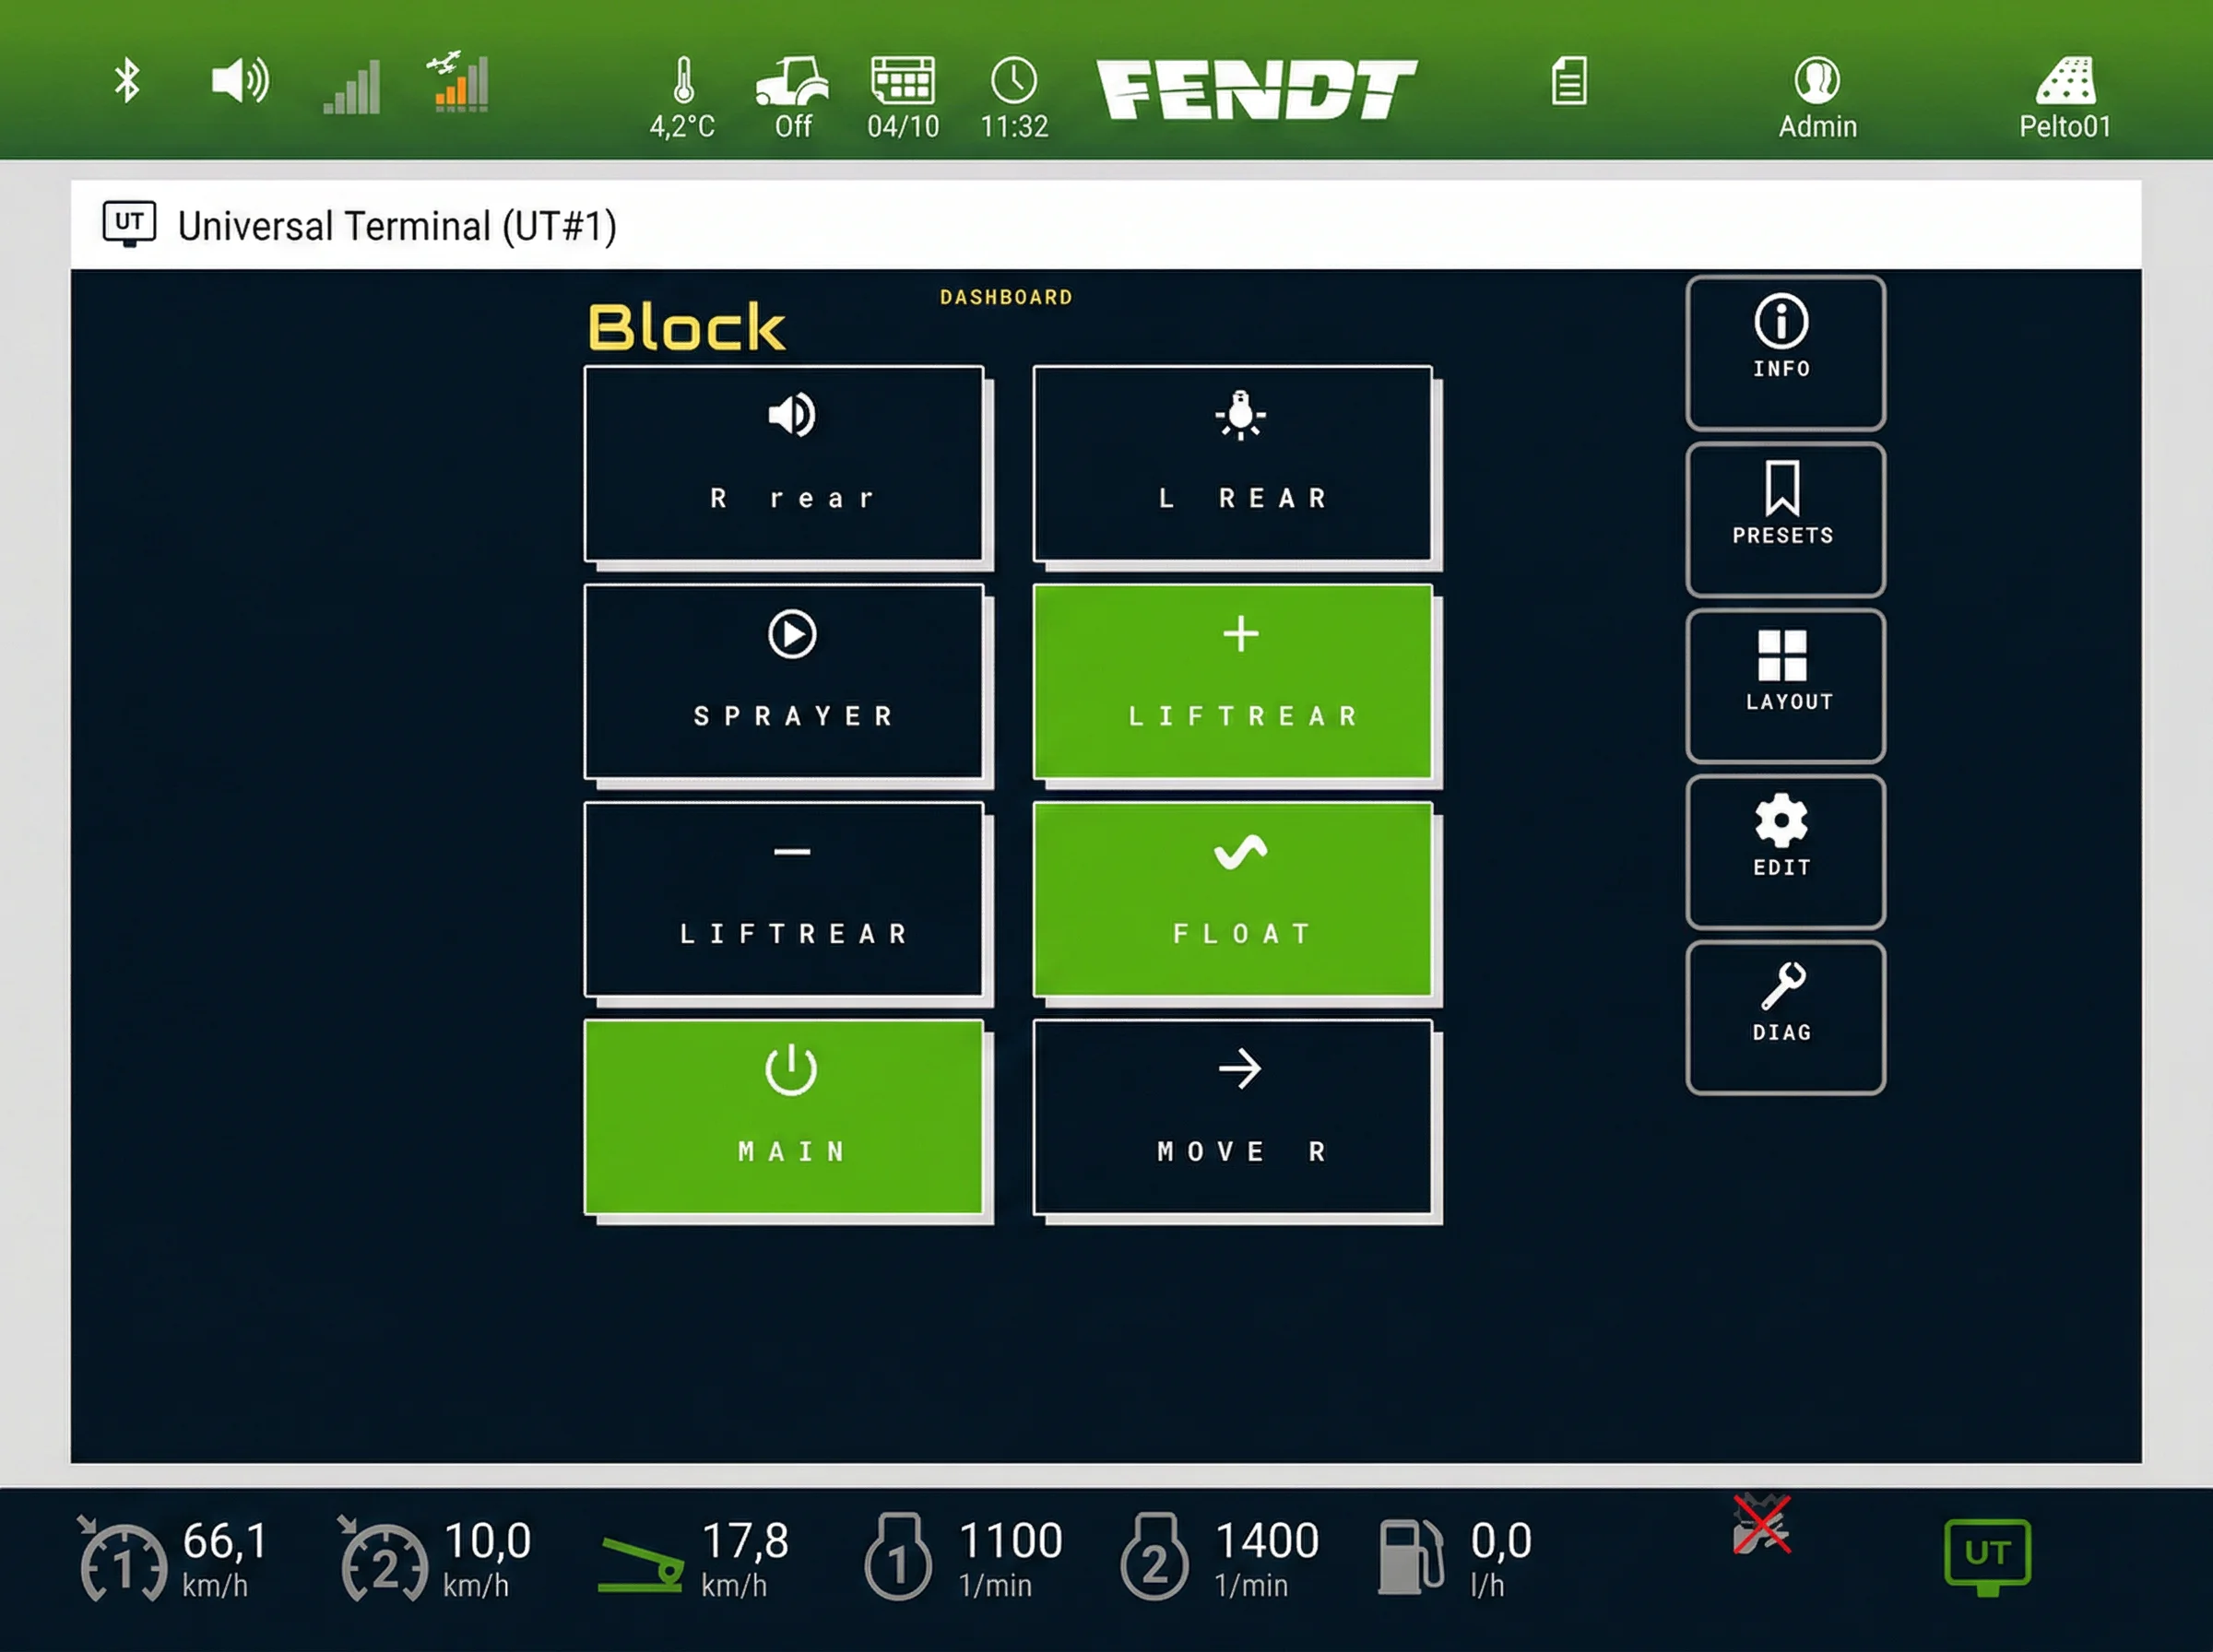
Now the implement is an ISOBUS implement. Plug it into any tractor's rear ISOBUS connector and the functions show up on the screen.
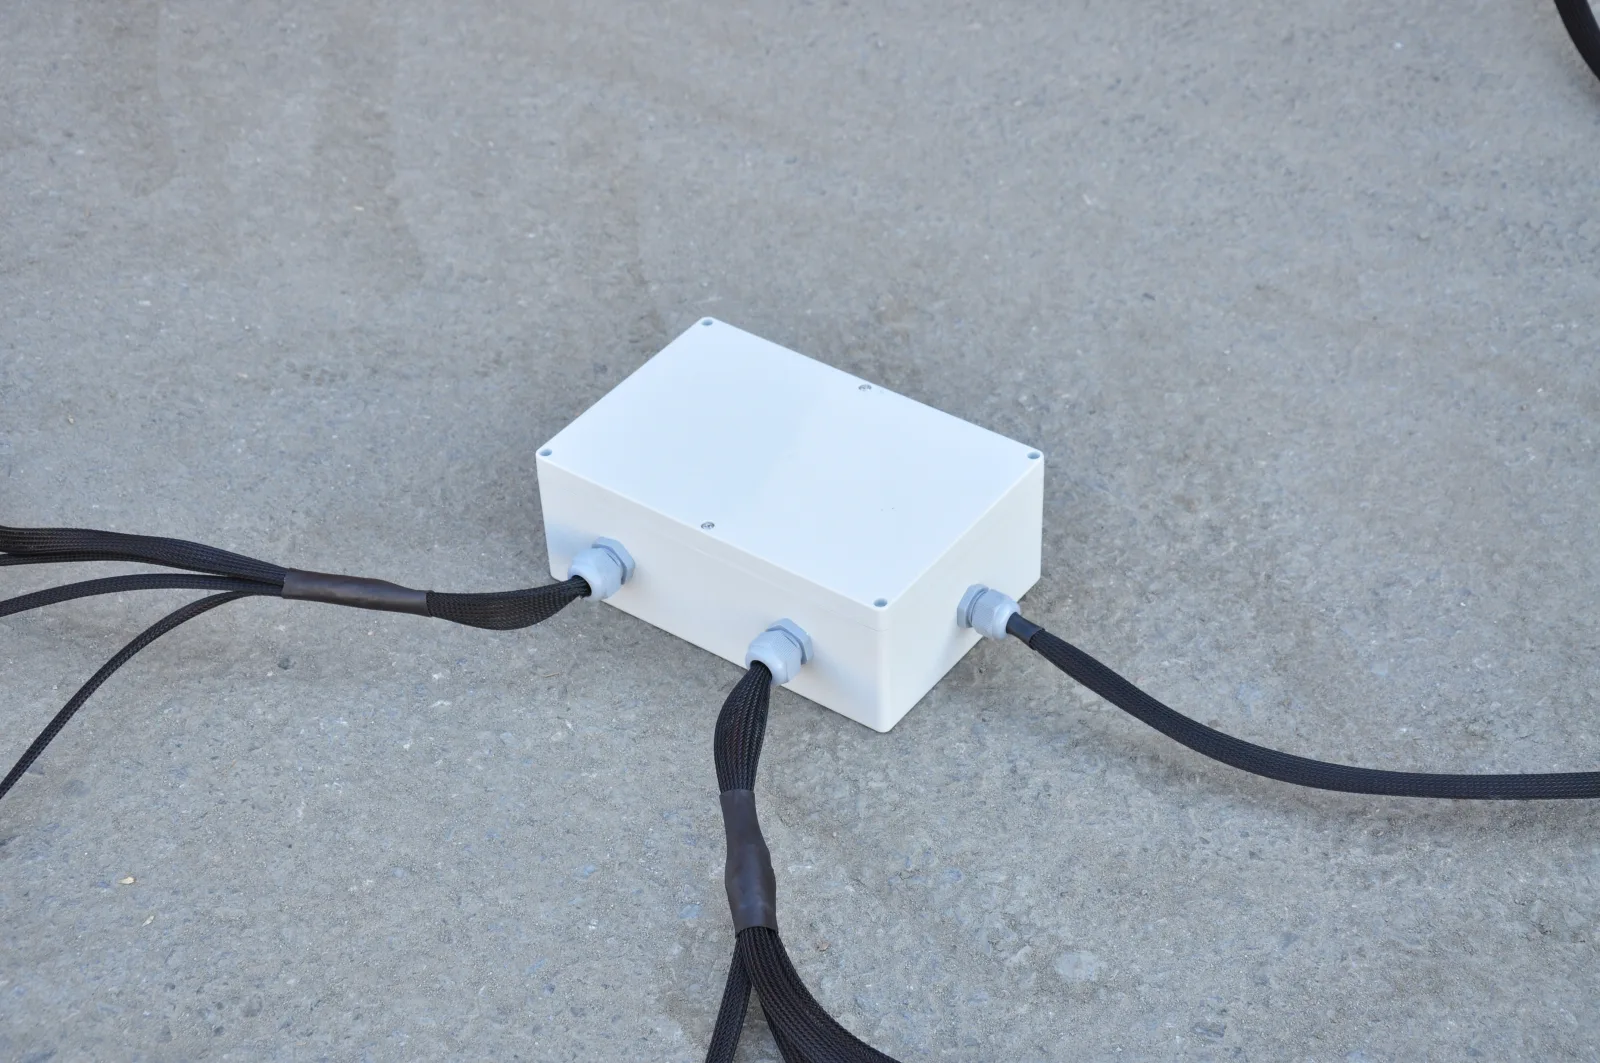
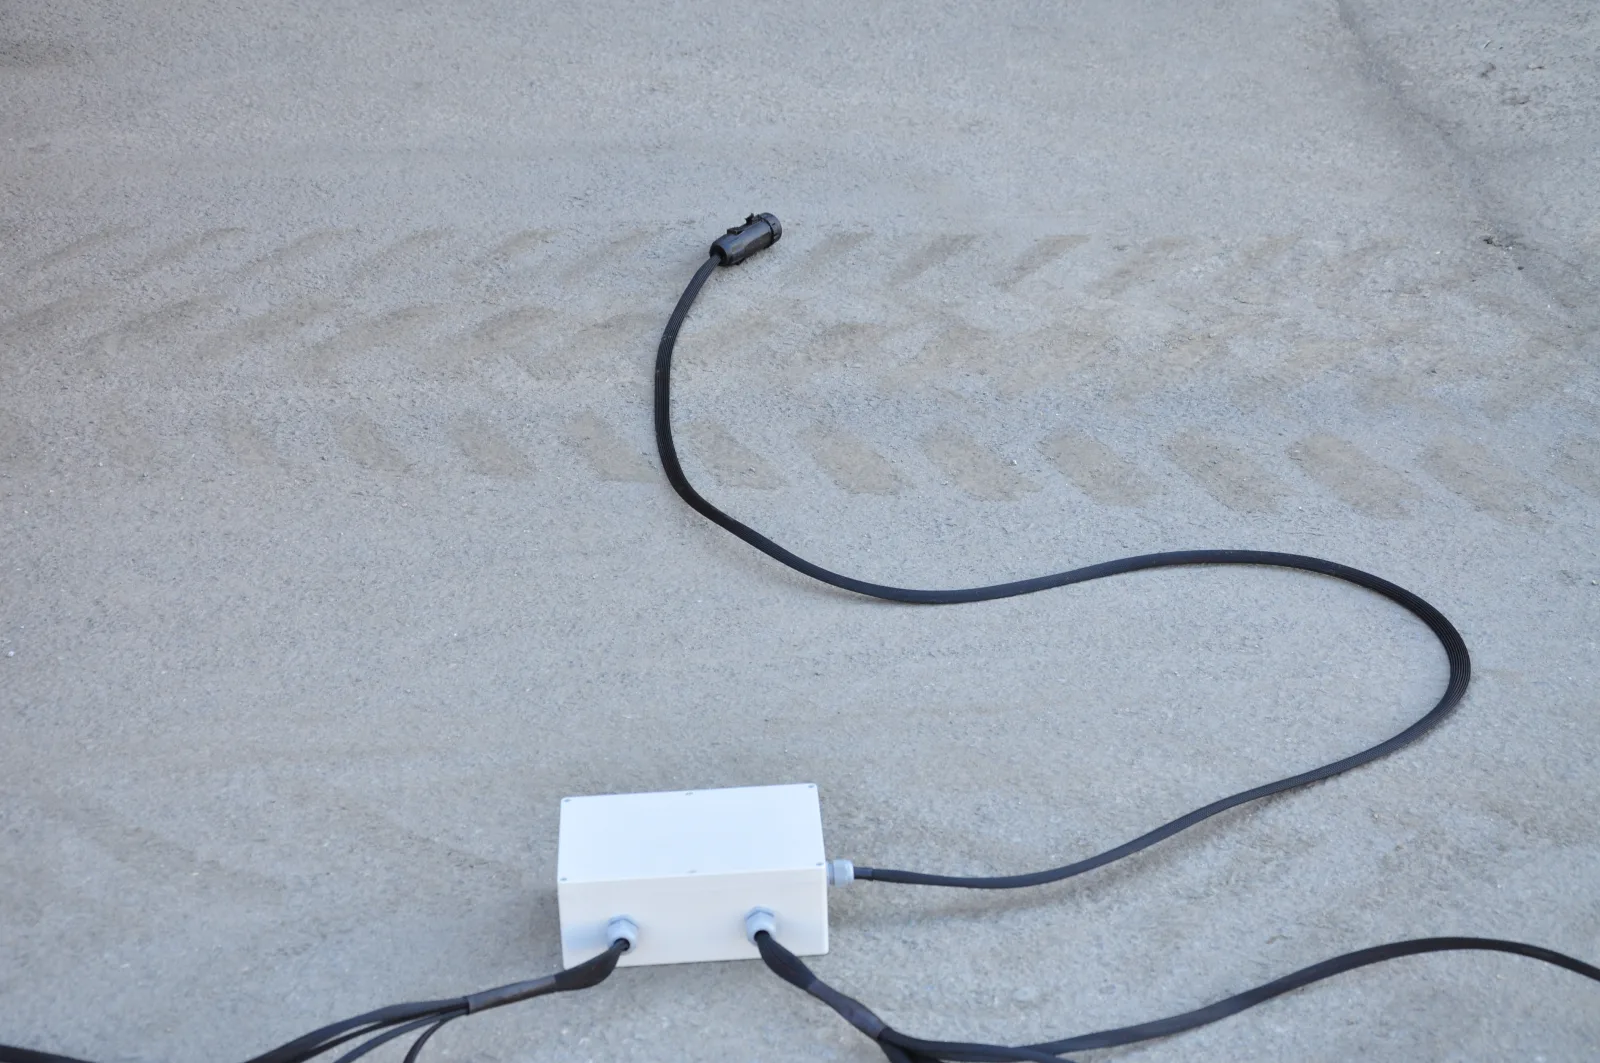
What changes:
- The Block lives on the implement — not in the tractor
- One ISOBUS cable connects to the tractor
- Functions appear on the tractor's screen automatically
- Assign them to AUX-N buttons or control directly from the screen
- Move the implement to any ISOBUS tractor — just plug in, it works
AUX-N: Use Your Tractor's Buttons
ISOBUS tractors with AUX-N let you assign the implement's functions to physical buttons on your armrest or joystick.
How it works:
- Plug the implement into the tractor's ISOBUS connector
- ISOBUS Block provides 8 functions to the tractor
- In the tractor's AUX-N menu, assign each function to a button
- Tractor remembers your assignments — next time you plug in, they're already there
Press the armrest button, the solenoid on the implement switches. The tractor stores the mapping; the relay on the implement does the load switching.
Configuration Example
An older implement with hydraulic solenoids and work lights:
| Channel | Connected To | Mode | Typical AUX-N Assignment |
|---|---|---|---|
| CH 1 | Hydraulic solenoid 1 | MOM | Joystick button |
| CH 2 | Hydraulic solenoid 2 | MOM | Joystick button |
| CH 3 | Hydraulic solenoid 3 | TOG | Armrest button |
| CH 4 | Work lights front | TOG | Armrest button |
| CH 5 | Work lights rear | TOG | Armrest button |
| CH 6 | Beacon | TOG | Armrest button |
Grouped channels work too. If you want work lights to turn on together with a hydraulic function, assign both channels to the same button.
Benefits
- Install once on the implement — works with every ISOBUS tractor
- No tractor modifications — nothing to install in the cab
- One ISOBUS cable to the tractor, that's the whole connection
- AUX-N button control or directly from the screen
- Tractor remembers your button assignments
- 8 channels, 10A each — no separate relay box needed
- MOM or TOG mode for each function
What You'll Need
- ISOBUS Block — the 8-channel relay module, €980
- An IP65 enclosure to mount it in. The module's housing is IP20, so out on the frame it needs a weatherproof box
- A cable from the box to the tractor's rear external ISOBUS connector. The External Connector Kit (€75) is the plug for that end — the standard ISO 11783-2 ISOBUS connector, sealed to IP67 when mated — with contacts supplied loose for you to crimp onto your own wiring
- Wiring from the relay terminals inside the box to the implement's existing solenoids and lights
- A mounting spot on the implement frame
The Result
Your older implement is now ISOBUS-compatible:
- Plug into any tractor's ISOBUS connector
- Functions appear on the screen
- Assign to armrest buttons via AUX-N
- No switches, no relay boxes, no wiring in the cab
The implement stays the same. The ISOBUS Block on it registers its 8 channels as AUX-N functions on the tractor's VT.
Learn More
- Documentation for wiring diagrams and technical specifications
- FAQ for common questions about ISOBUS Block
- Front Loader Third Function for diverter valve control
- Multi-Solenoid Implement Control for grouped outputs
Ready to retrofit your implement for any ISOBUS tractor? Order ISOBUS Block. The connector kits are offered next to the Add to cart button.