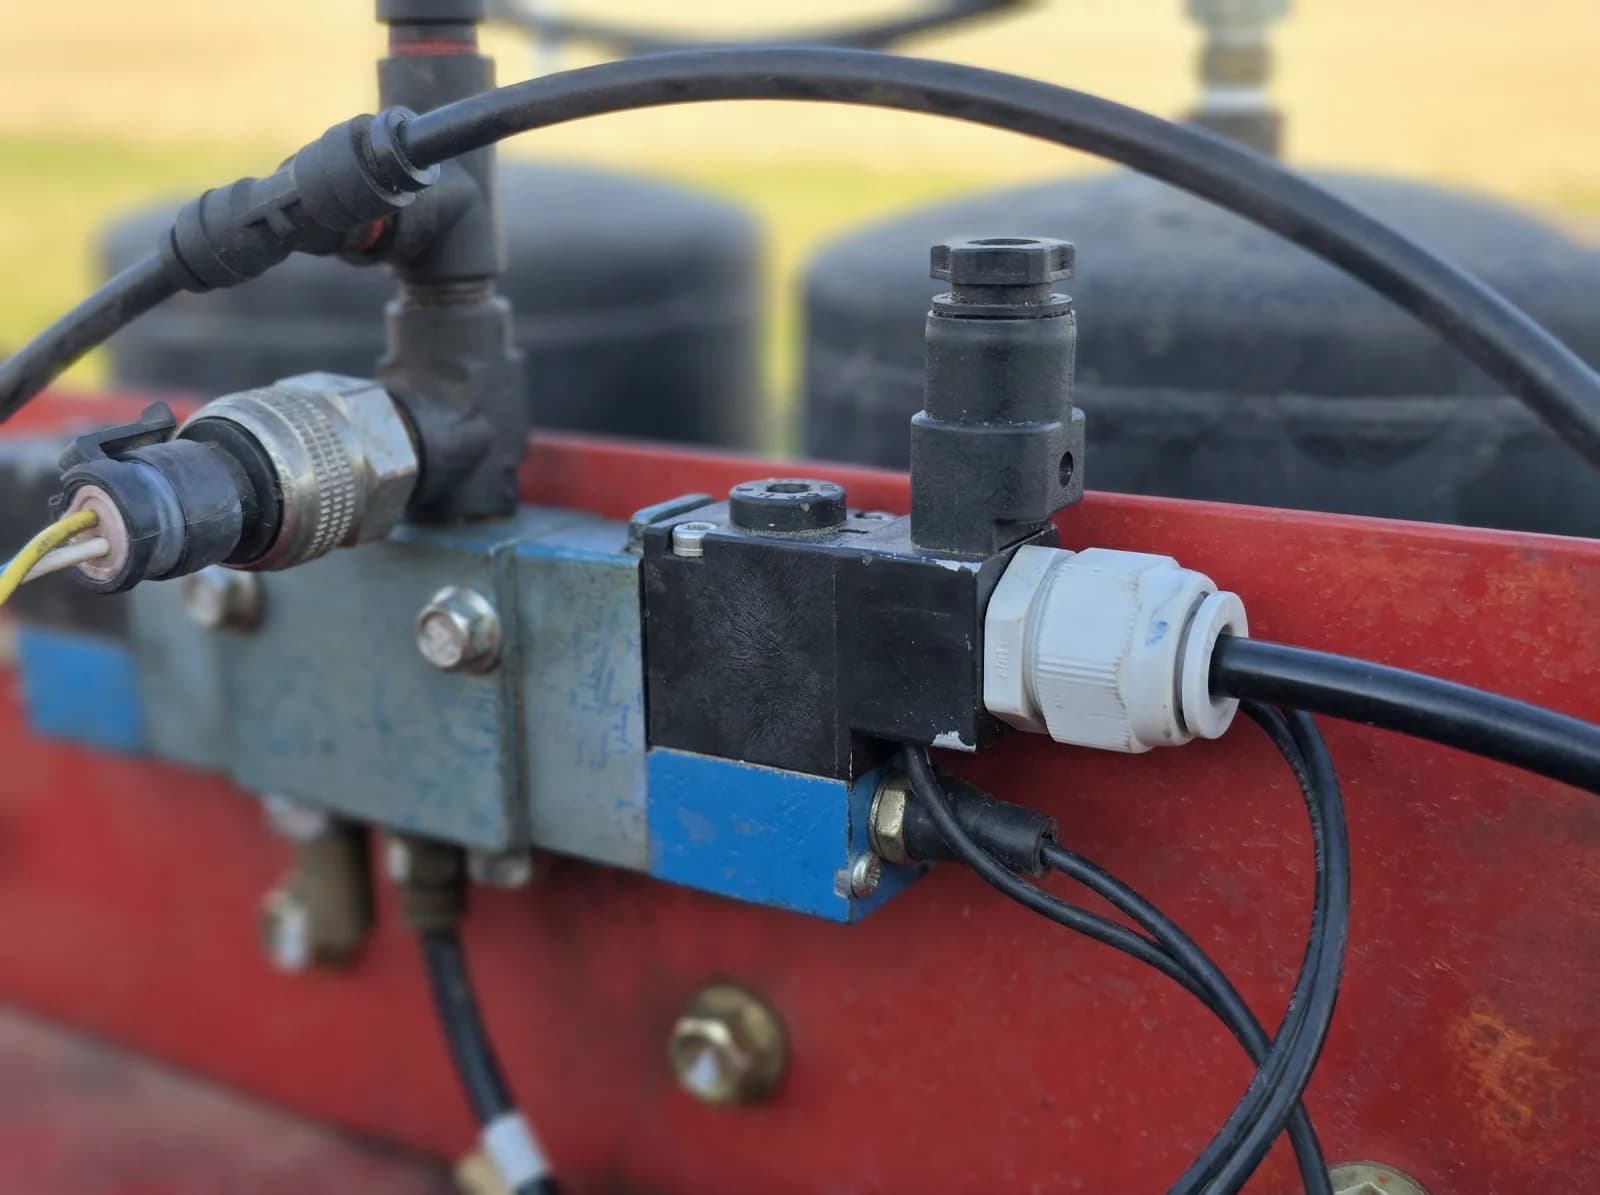
In short: Put an ISOBUS Block on the trailer in a weatherproof box, wire each relay to a solenoid coil, and plug it into the tractor's rear ISOBUS connector. The trailer's valves show up on the tractor's Virtual Terminal and go onto the armrest buttons through AUX-N. Hoses and cylinders stay as they are. Wire each trailer once, then move the module between them.
A loaded trailer can have more hydraulic functions than the tractor has spool valves to drive them: a proportional valve for flow, plus a handful of 6/2 solenoids switching oil between functions. The usual answer is a control box bolted to the headboard with its own switches, or spare leads run forward to the cab. Both work. Both leave you reaching for the wrong control at the wrong moment.
There's a cleaner way: put the trailer's hydraulic valves on the tractor's ISOBUS screen and assign them to the armrest buttons you already use. The relay side stays on the trailer, taps the existing ISOBUS bus, and switches each solenoid coil. This guide covers how that setup works and why wiring each trailer once lets a single module move down the yard from one implement to the next.
What Goes on the Trailer, What Goes in the Cab
The split is the whole point. Two clear sides, one cable between them.
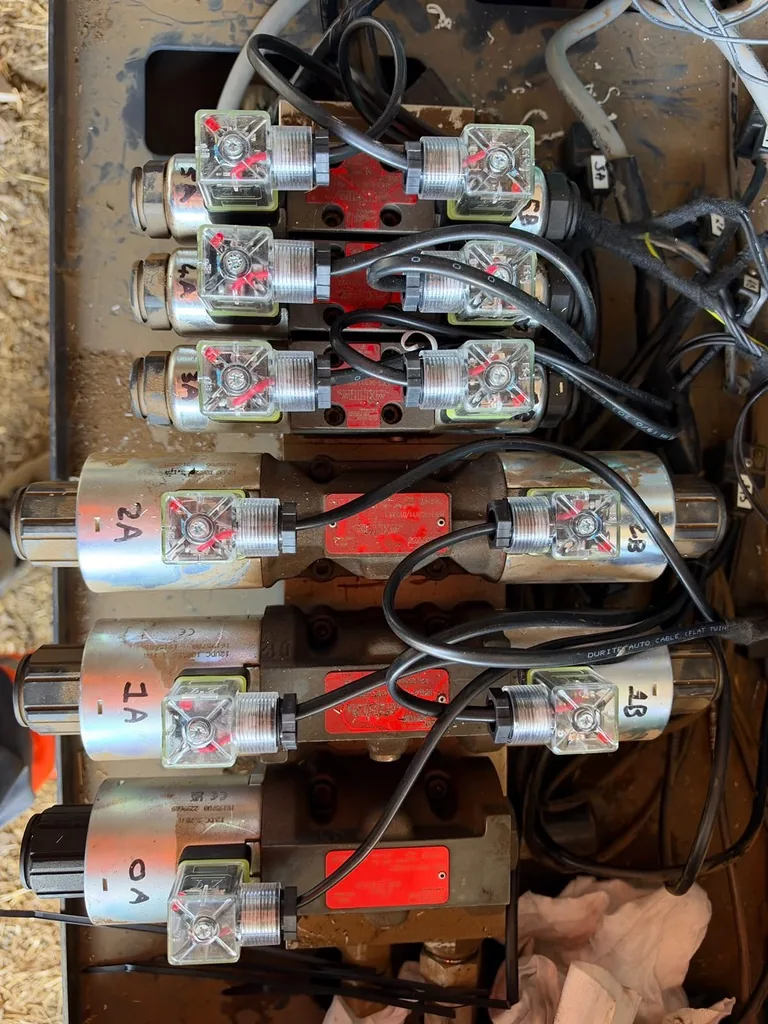
On the trailer: an 8-channel ISOBUS relay module in a weatherproof box. Each relay output wires to a solenoid coil: the proportional valve's on/off solenoids, the 6/2 directional solenoids, a beacon if you want it on the same control. The module plugs into the tractor's rear external ISOBUS connector. That single connection carries the CAN signal and powers the module. No control box on the headboard, no switch panel.
This is one of two viable install patterns. The other is to put the module on the tractor and route the channels out to a 15-pin trailer socket, turning the tractor's rear end into a plug-and-play port that any matching implement can hook up to. See Add relay outputs to a modern tractor (Fendt 724 install) for a worked example of that tractor-side pattern. Trailer-mounted is the pattern to pick when each trailer has a lot of its own solenoids; tractor-side wins when several trailers share the same tractor and only need a handful of channels each.
In the cab: nothing new. The module sends its interface to the tractor's Virtual Terminal, the screen already in the cab. You get a tile per function, and you assign those functions to joystick and armrest buttons through the tractor's AUX-N menu. The buttons you use for the tractor's own hydraulics now switch the trailer's valves too.
The chain is worth stating plainly. Button press → relay switches → solenoid valve opens → hydraulic oil moves. The module controls the relay and the solenoid coil. Everything downstream (hoses, cylinders, the oil itself) is your existing trailer hydraulics, unchanged. The module replaces the control side, not the hydraulic side. For the full picture of this control layer, see ISOBUS Implement Control: VT & AUX-N Setup Guide.
Switching the Valves: Proportional and 6/2
A trailer hydraulic block usually mixes valve types. Here's how each one maps to relay outputs.
The proportional valve
A proportional valve meters flow: more current, more flow. The relay module does not do that part. It switches the valve's on/off solenoids: enable the valve, select a direction, energise a coil. If your proportional valve has a separate flow-setting input, that stays on whatever drives it today. The module handles the switching: open, close, direction.
Be clear-eyed about this when you plan the wiring. A relay is on or off. It gives you crisp, repeatable switching of solenoid coils, not a variable, analog signal.
The 6/2 directional solenoids
A 6/2 solenoid valve switches oil between two paths: six ports, two positions, driven by a coil. Wire that coil to a relay channel and the button switches the valve position. One channel, one solenoid, one button. Several 6/2 valves means several channels, and with eight channels (CH1–CH8) on one module, a typical trailer block fits inside a single unit.
| Trailer function | Valve type | What the relay does |
|---|---|---|
| Main flow enable | Proportional valve solenoid | Switches the valve on/off |
| Flow direction | Proportional valve solenoid | Energises the direction coil |
| Tip / fold / door | 6/2 directional solenoid | Switches the valve position |
| Auxiliary circuit | 6/2 directional solenoid | Switches the valve position |
| Work light / beacon | None | Switches the 12/24 V load |
One load per channel. Group two channels under one button if you want them to switch together: a door solenoid and its work light on a single press. A Pöttinger forage wagon fills all eight the same way: pickup, boom, rear door, conveyor floor and a buzzer.
Toggle or Momentary, Set Per Channel
Each channel runs in one of two modes, chosen on the Virtual Terminal:
- TOG (toggle): press once on, press again off. Right for anything you leave running: a beacon, a held-open valve, a continuous function.
- MOM (momentary): active only while the button is held. Right for a directional solenoid you want energised just while you move the door, the tip, the fold.
Set the mode per channel from the screen, and change it later without touching a wire. For a deeper look at the screen itself (tiles, object pools, soft keys), see ISOBUS Virtual Terminal Explained: VT, UT & Object Pools.
Naming the Buttons So You Don't Guess
A trailer with six switched functions is no use if the armrest shows six identical tiles. Rename each channel and give it an icon, both set from the Virtual Terminal. Call CH2 TIP, CH4 DOOR. That name and icon then show up in two places: the VT tile grid, and the tractor's AUX-N assignment menu when you bind the function to a button. When you open the armrest menu, you assign TIP to a trigger, not a faceless CH2.
This is what makes the armrest usable in the field. You glance down, see the function, press it. The ISOBUS AUX-N Complete Guide walks through the assignment process and the per-brand menu paths. The tractor stores those assignments, so the layout persists across power cycles.
Wire Each Trailer Once, Move the Module
Here's where the relay-on-the-trailer split pays off across a yard full of implements.
If you run more than one trailer (a tipper, a bale trailer, a dump bed), you don't need a module on each. You need the relay wiring on each. Wire each trailer's solenoids to a set of relay terminals once, fit the connectors, leave that wiring in place. Then the module moves: unplug it from the trailer you're done with, plug it into the next.
Each trailer keeps its own loom and connector. The module is the portable, expensive part; the per-trailer wiring is cheap and stays put. AUX-N button assignments live in the tractor, not the module, so the same armrest layout applies to whichever trailer is currently plugged in. For the broader principle of switching any 12 V or 24 V load this way, see Control Any 12V/24V Device from Your ISOBUS Terminal.
Will It Work With My Tractor?
If the tractor has an ISOBUS Virtual Terminal and a rear external ISOBUS connector, the screen side works. For switching functions from physical buttons, the tractor also needs AUX-N support, standard on machines with a full ISOBUS armrest from around 2012–2015 onwards. The ISOBUS connector is the same physical part across brands, so the module fits a Fendt, a Valtra, a John Deere, or a Case IH alike. To confirm your machine, see the ISOBUS Compatibility Guide: Will It Work With Your Tractor?.
Frequently Asked Questions
Can I control trailer hydraulics from the tractor's ISOBUS screen?
Yes. An ISOBUS relay module mounted on the trailer switches the hydraulic solenoid coils, and it sends its interface to the tractor's Virtual Terminal. You get an on-screen tile per function and can assign each one to a joystick or armrest button over AUX-N. The module switches the control side. The relay energises the solenoid, the solenoid opens the valve. The hoses and cylinders stay as they are.
Does the relay module control a proportional valve's flow rate?
No. A relay is an on/off switch. It can energise a proportional valve's on/off and direction solenoids, but it does not provide a variable, analog signal to meter flow. If your proportional valve sets flow from a separate input, that stays on whatever drives it now. The module handles the switching, not the metering.
How many trailer functions can one module handle?
Eight, one per relay channel (CH1–CH8). A typical trailer hydraulic block (a proportional valve's switched solenoids plus several 6/2 directional solenoids, with a beacon or work light left over) fits inside a single 8-channel module. You can also group two channels under one button if two functions should switch together.
Do I need a separate module for every trailer?
No. Wire each trailer's solenoids to relay terminals once and leave that loom in place with its own connector. The module itself moves from trailer to trailer: unplug it from one, plug it into the next. The per-trailer wiring is the cheap part that stays put; the module is the portable part you carry between implements.
What happens to my button layout when I move the module to another trailer?
It stays, as long as you're on the same tractor. AUX-N assignments are stored in the tractor, not the module, so the same armrest layout applies to whichever trailer the module is currently plugged into. Move to a different tractor and you assign the buttons once on that machine; it remembers them afterward.
Need an ISOBUS relay module for controlling solenoids, work lights, or hydraulic valves? ISOBUS Block provides 8 relay outputs controlled directly from your tractor's Virtual Terminal display.