In short: If your tractor has a work-signal input for its worked area counter, an ISOBUS Block relay channel can feed that pin so the count reflects real work. Switch the channel from the tractor screen, from an AUX-N button, or, on the 8-channel module, from a sensor on a digital input through AUTO. Your operator manual tells you which pin, and whether it wants +12V or ground.
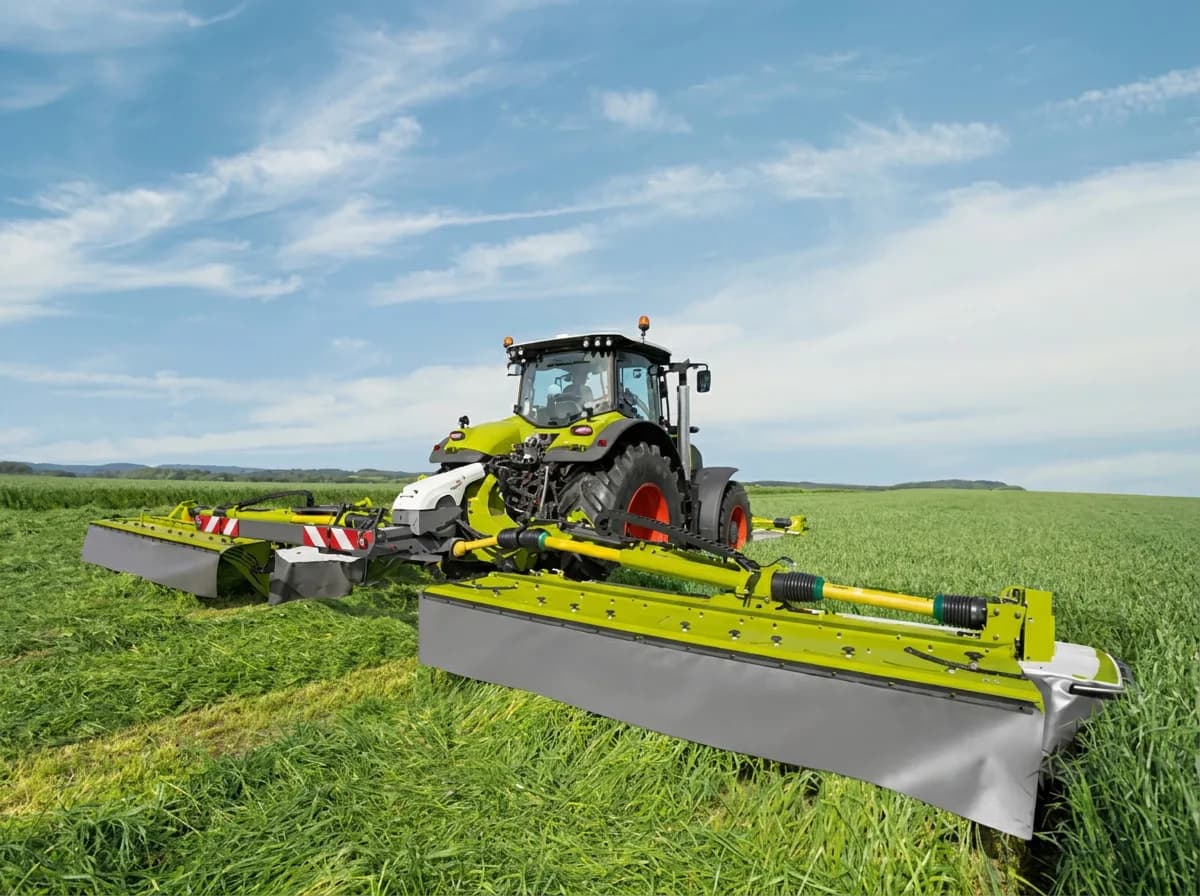
Some tractors expose a work-signal input on one of their connectors. The operator manual will call it worked-area trigger, work switch, implement-in-work signal, or something similar. When that input sees +12V, the tractor's built-in worked area counter runs. When the signal drops, the counter stops. On tractors that have it (many Claas machines, for example), this pin uses the counter the tractor already carries: no ISOBUS-TC implement, no phone app, no stopwatch.
The problem is getting a signal on that pin that reflects real work. Wire it to a permanent +12V and the counter runs whenever the key is on, headland turns and coffee breaks included. Wire it to a manual toggle and you'll forget to flip it. This post is about using ISOBUS Block to feed that pin cleanly, from three different triggers depending on how much automation you want.
What the Tractor Already Gives You
The counter itself is already there. It lives inside the tractor. It's already calibrated to the wheel and radar speed sensors the tractor uses for everything else. You don't need to add a counting box, and you don't need an ISOBUS Task Controller for this to work. All you need is a switched signal on the input pin the tractor's own worked-area counter watches.
Where that pin is varies by brand and model year. It might sit on the in-cab accessory connector, on the rear signal socket, or on a dedicated header in the fuse panel. The polarity varies too. Some tractors count when the pin sees +12V. Some count when the pin is grounded. Look this up in your tractor's operator manual. We deliberately don't publish pinout tables for specific tractor brands here, because we don't want you drilling through a wiring harness on the strength of a blog post. The manual is right; we might not be.
Two things you're checking for in the manual:
- Which pin runs the worked-area counter.
- Whether that pin wants switched +12V or switched ground.
Once you have those two answers, ISOBUS Block does the rest.
What ISOBUS Block Adds to the Worked Area Counter Signal
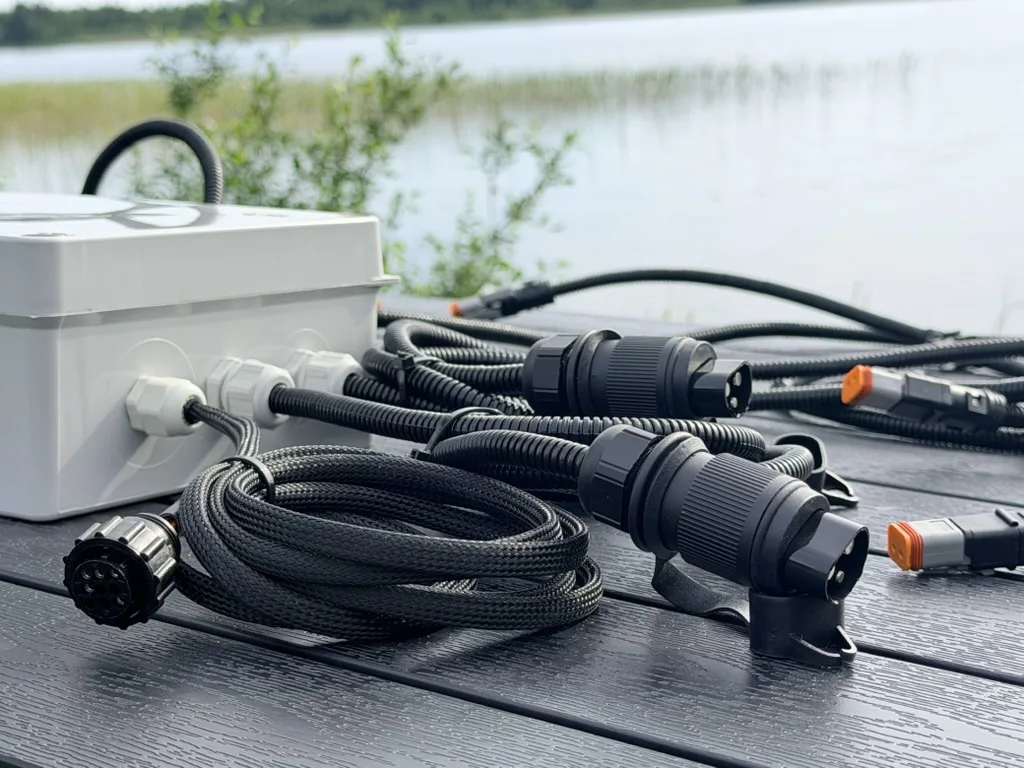
Block has 8 relay outputs. Each is a dry contact: an isolated relay with COM, NO, and NC terminals. The contact doesn't care which side of the circuit is the source and which side is the load. That matters here, because it means the same channel can drive a switched-+12V input on one tractor and a switched-ground input on another, no rewiring inside the module.
The wiring pattern is short. For a switched-+12V input:
- COM to your +12V source (battery via a fuse, or ignition-switched +12V so it doesn't run down the battery).
- NO to the tractor's worked-area counter input pin.
- Ground shared between the tractor and the module's supply, per normal.
For a switched-ground input, swap: ground to COM, counter pin to NO. When Block closes the channel, the pin sees ground; when Block opens it, the pin floats. Same relay, same three terminals, opposite polarity. That's why we specify "dry contact" instead of describing the channel as an output.
Once the wiring is done, you decide when that channel closes. That decision is the whole point of the module, and Block gives you three ways to make it.
Three Ways to Trigger the Channel
1. Manual from the Virtual Terminal screen
Open the tractor's screen, tap the tile named for that channel (rename it AREA while you're at it), done. Tap again to stop. This is the fastest setup: no button assignment, no sensor to buy, no wiring beyond COM/NO.
The trade-off is honesty. You have to remember to tap the tile at the start of every pass and again at every headland turn. If you're the kind of operator who tracks fuel per hectare on the back of a fuel receipt, that's probably fine. If you're an invoicing contractor, the risk of forgetting is real. See control any device from your ISOBUS terminal for the general pattern.
2. AUX-N button on the joystick or armrest
Assign the same channel to an AUX-N button on your tractor's assignment screen. Now the counter starts and stops from the same button you already use to fold the boom, lower the seeder, or engage the front loader. Physical button, muscle memory, one less thing to think about.
Set the channel to TOG (toggle) so one press starts, another press stops. MOM (momentary) is a bad fit here unless you literally want to hold the button for the whole pass. Full detail on the assignment procedure is in the ISOBUS AUX-N complete guide. This is the same relay-driving pattern used for triggering autoguidance or a hectare counter from an AUX-N button, applied specifically to the tractor's built-in counter pin.
3. AUTO with a digital input (8-channel module only)
The 8-channel Block has 8 isolated digital inputs, 5–36 V, dry-contact / NPN / PNP compatible. Wire a sensor on the implement that already knows when the implement is working (a flow switch on the sprayer main, a proximity sensor on the drill's ground wheel, a pressure switch on the fold cylinder), set up an AUTO tile in FOLLOW mode, and Block closes the counter channel whenever that sensor is active.
The counter now runs only during real work. No pass on the headland. No coffee break. No boom-parked-in-transport with the sections still armed on the screen. The tractor's counter number at the end of the day matches what you actually did.
The 32-channel Block has no digital inputs and can't do this. Manual and AUX-N work identically on both modules; the AUTO path is an 8-channel-only story.
Worked Example: Sprayer Flow Switch
Older sprayers without ISOBUS-TC still have a hectare number the operator wants at the end of the day. If the boom has a flow switch on the main line, the automation is:
- Wire the flow switch to
DI1on Block. Common wiring: switch closes to +12V when spray flow is above the threshold,COMon the input header tied to ground. - Wire
CH1for the counter pin per your tractor manual:COMto +12V (or ground),NOto the counter input pin. - On the terminal, open AUTO, tap the cog, edit a tile: name it
AREA, addDI1to it. - On the input row for
DI1, set Mode: FOLLOW, Outputs: CH1, leave debounce at 50 ms, set an on-delay of 0.3 s so a momentary flow spike (a boom test squirt, a bump on the sections) doesn't blip the counter on for half a second. - Save. Back on the AUTO page, tap the
AREAtile: it goes green. You're armed.
Now: open the sections, flow rises, DI1 goes active, CH1 closes, the tractor's counter runs. Close the sections at the headland, flow drops, DI1 clears, CH1 opens, the counter pauses. Turn, drop back into the crop, open sections, the counter runs again. At the end of the field, disarm the tile with one more tap.
That's the whole loop. No stopwatch, no headland guesswork, no counter drift because you forgot to hit the button. The AUTO feature and its settings are documented on the product docs if you want the full input reference.
Setup Checklist
Before you cut a single wire:
- Find the pin in the operator manual. Both the pin location and whether it wants switched +12V or switched ground.
- Pick a free Block channel (
CH1–CH8on the 8-channel; any ofCH1–CH32on the 32-channel). Rename itAREAon the screen so it's obvious what it does. - Wire it per your tractor. For a switched-+12V input:
COMto +12V,NOto the counter pin. For a switched-ground input:COMto ground,NOto the counter pin. The relay is a dry contact, so the same channel handles either polarity. - Pick your trigger. Manual button on the VT screen, AUX-N button, or (8-channel only) a digital input driving an AUTO tile.
- Test on a short pass. Note the counter reading, drive 50 m, check the counter went up by the expected amount.
If you're doing this on an older implement that has no ISOBUS presence at all, the ISOBUS retrofit guide covers the wider wiring picture for adding Block to an existing setup.
Frequently Asked Questions
Does the relay module count hectares itself?
No. The tractor's built-in worked area counter does the counting. Block only provides the switched signal on the counter's input pin. If your tractor has no such input, Block cannot add one; there's no ISOBUS message or bus-broadcast substitute in the module.
Where is the worked area counter input pin on my tractor?
It varies by brand and model year. Look in the tractor's operator manual for terms like worked-area trigger, work switch, implement-in-work signal, or area counter input. The pin sits somewhere on the in-cab accessory connector, the rear signal socket, or a dedicated fuse-panel header. We don't publish per-brand pinouts because the manual is authoritative and we're not.
Can I make the counter start automatically when the sprayer boom is spraying?
Yes, on the 8-channel Block. Wire a flow switch (or any sensor that goes active when the boom is spraying) to one of the digital inputs, configure an AUTO tile in FOLLOW mode targeting the channel wired to the counter pin, and arm the tile at the start of the field. The counter runs while flow is present and pauses when it drops. The 32-channel Block has no digital inputs, so this path isn't available on that module.
My tractor's counter pin wants switched ground, not switched +12V. Does that still work?
Yes. Block's relay channels are dry contacts, meaning the relay is isolated from the module's supply. Wire ground to COM and the counter pin to NO. When the channel closes, the pin is pulled to ground; when it opens, the pin floats. Same channel, same terminals, opposite polarity.
Do I need Task Controller or an ISOBUS implement for this?
No. Driving the counter's signal input pin has nothing to do with TC-BAS, TC-GEO, or the implement announcing itself over the bus. Block doesn't participate in a Task Controller conversation. It closes a relay on demand and lets the tractor's own logic do the counting.
Need an ISOBUS relay module for triggering a tractor's worked area counter, or wiring sensors that arm outputs automatically? ISOBUS Block is an 8-channel module (10 A per channel) with 8 digital inputs and an AUTO automation feature, controlled from your tractor's Virtual Terminal and AUX-N buttons.