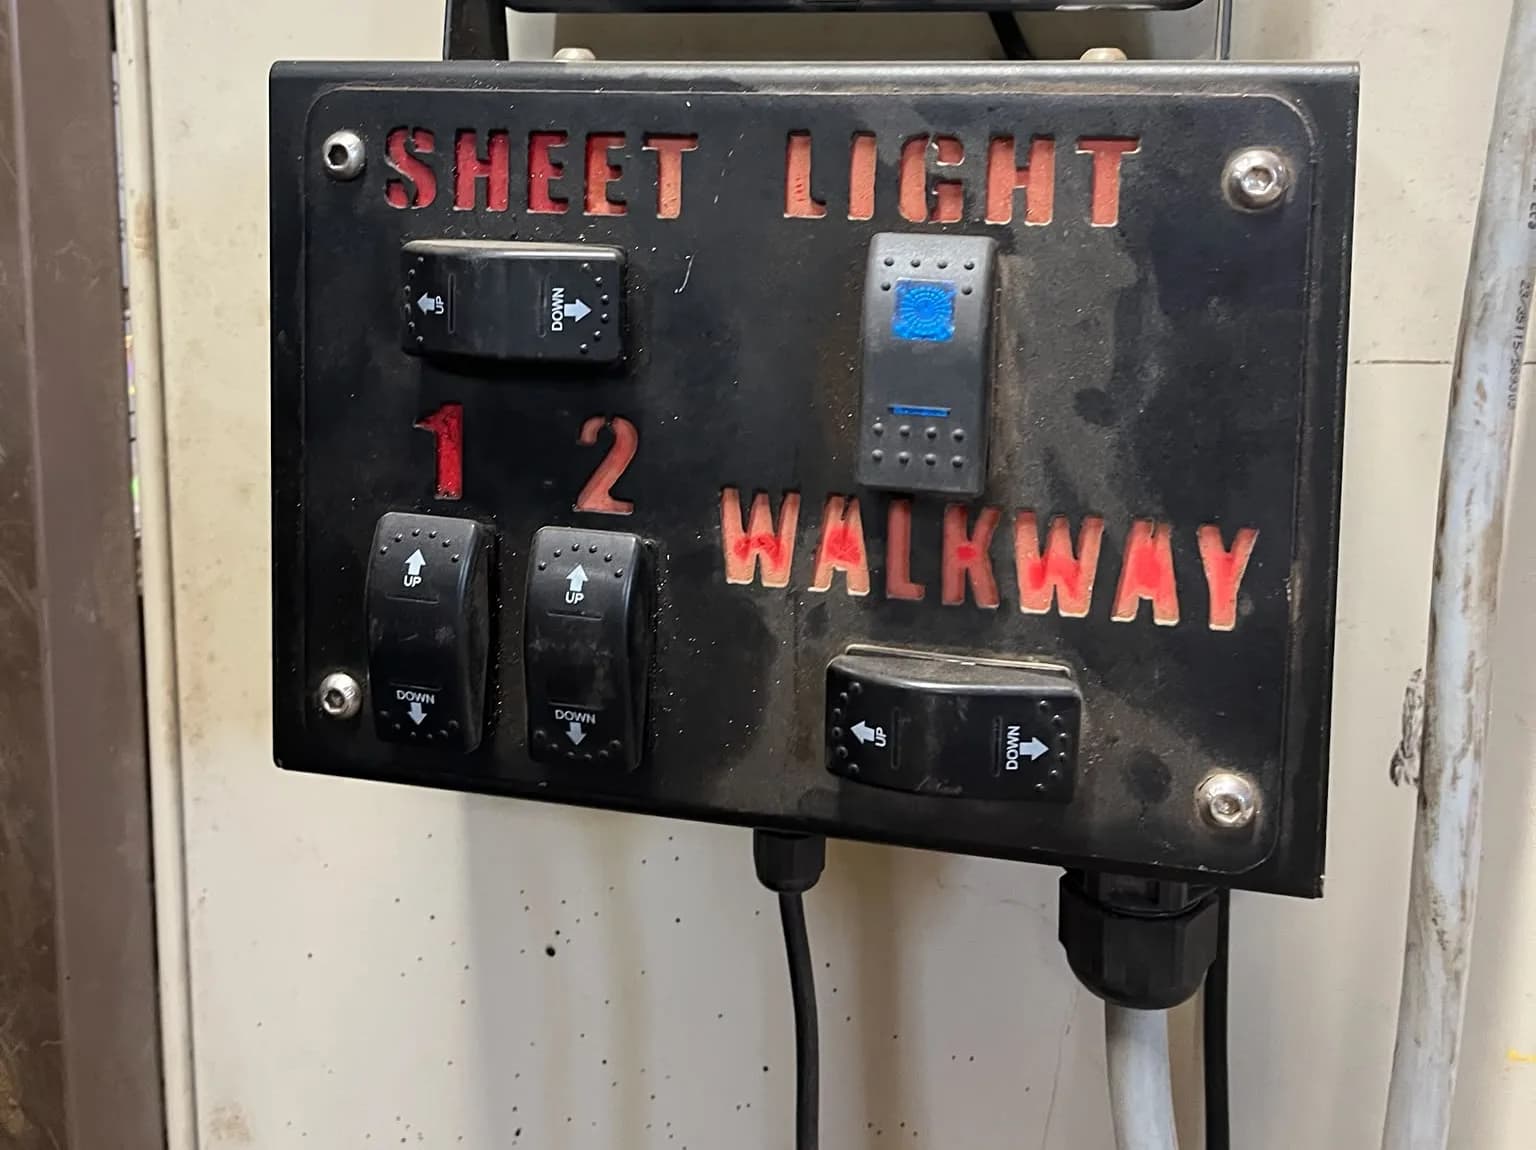
A front loader third function is the extra hydraulic circuit that opens and closes a grab, a bale clamp or a bucket clamp. Most loaders leave the factory with two circuits: lift and tilt. A retrofit adds the third by borrowing one of those two through a selector valve, and a button decides which one gets the oil. On a tractor with ISOBUS, that button can be one the tractor already has.
If you already know the parts and want to see the ISOBUS setup channel by channel, go to the front loader third function use case. This post is the step before it: what you are buying and what to check.
What a front loader third function is
The loader joystick moves two double-acting circuits. Forward and back is lift. Left and right is tilt. A grab needs its own double-acting circuit, but the joystick has no third axis to give it.
The retrofit solves this with a diverter, also called a selector valve. The common type is a 6/2 valve: six ports, two positions. Most kits fit it in the tilt lines.
| Coil state | Where the tilt oil goes | What the joystick moves |
|---|---|---|
| Off | Tilt cylinders | Bucket tilt |
| On | Third-function couplers | Grab, clamp or top jaw |
The valve does not add oil flow. It sends an existing circuit somewhere else, so you tilt or you grab, never both at once.
The two halves of a third function retrofit
Every third function kit has a hydraulic half and an electrical half. They are separate jobs.
The hydraulic half
- The selector valve block, mounted on the loader frame
- Rubber hoses with steel fittings from the valve to the tilt cylinders
- Hoses from the valve to a pair of quick couplers near the tool carrier
- Brackets and fittings for your loader model
This half is dealer or workshop work. It is the same whatever you do on the electrical side. An ISOBUS setup does not replace a single hose or fitting.
The electrical half
- A coil on the selector valve, usually 12 V
- A switched feed to that coil
- A button the operator presses
The rest of this post is about where that switch lives.
The classic wiring route
The kit most people buy comes with a push button, a cable and sometimes a relay. The usual install:
- Tape or clamp the push button to the loader joystick.
- Run the cable down the lever, through the cab floor or the back window, and out to the valve coil on the loader.
- Take power from the 3-pin socket, with a fuse in the feed. The tractor sockets guide shows which pin is which.
- Fit a relay if the kit uses one, somewhere in the cab.
It works. The button is where your thumb is, and the coil is on only while you hold it. On a tractor with a mechanical joystick and no ISOBUS, this is the right route, as the DIY relay box comparison also says.
Newer tractors are harder. The loader joystick is often part of a CAN-bus-controlled armrest, with no free spot for a button and no wire to tap into. The button ends up on the side of the armrest and the cable hangs across the cab.
The ISOBUS route: third function on the joystick
On an ISOBUS tractor, the switched feed can come from a relay module on the ISOBUS network. With ISOBUS Block, the valve coil goes on one relay channel. You then switch that channel from the tractor screen or from an AUX-N button on the joystick or armrest, whichever you prefer. AUX-N is the part of ISOBUS that lets you assign implement functions to the tractor's own buttons (how AUX-N works).
Wiring the coil
Each channel has three terminals: COM, NO and NC.
| Terminal | Connect to |
|---|---|
COM | Supply positive, fused |
NO | Selector valve coil, positive side |
| Coil return | Ground |
When the channel is on, NO closes to COM and the coil gets power. Each channel switches up to 10 A. The solenoid valve wiring guide covers coil wiring in more detail.
Where the module goes
- In the cab, on the in-cab ISOBUS socket. The socket powers the module. Feed the relay
COMterminals from a +12 V or +24 V source such as the battery, and run a two-wire lead out to the coil on the loader. - On the rear ISOBUS socket. This socket also carries a fused supply for the loads. The bare module is IP20, so outside the cab it needs a weatherproof box.
The connector kits and the pinouts for both sockets are on the docs page.
Setting up the button
On the tractor screen, press EDIT and tap a button. Name it, for example GRAB, pick an icon, and link it to the channel that feeds the coil. Then set the mode:
- MOM (momentary): the coil is on only while you hold the button. This is how the classic push button works.
- TOG (toggle): one press switches to the grab, the next press switches back to tilt.
Then open the tractor's AUX-N menu and assign GRAB to a free joystick or armrest button. The name you typed is the name you see in that menu. If your terminal has no AUX-N, the button on the screen does the same job. The joystick guide walks through the assignment step by step.
Seven channels stay free for work lights, a beacon or a second valve.
What to check before you order
| Check | Why it matters |
|---|---|
| The tractor has ISOBUS and a terminal | Without it, use the classic route |
| The terminal supports AUX-N | Needed for a joystick button. Without it, you switch from the screen. How to check |
| Coil voltage matches the supply | A 12 V coil needs a 12 V feed |
| The loader has room for the valve block | Ask the dealer for the kit that fits your loader |
| You need a fourth function | A second 6/2 valve needs a second channel. An 8/3 valve has two coils and needs two channels |
The hydraulic kit is the same either way. Order it for your loader and choose the electrical route separately.
Frequently asked questions
What is the third function on a front loader?
It is a third double-acting hydraulic circuit for a grab, a bale clamp or a bucket clamp. Most loaders have only lift and tilt, so the third function borrows one of them through a selector valve.
Can I add a third function to my loader?
Yes. Most loaders can take a retrofit kit with a selector valve, hoses and couplers. The hydraulic part is dealer or workshop work, and the electrical part is a coil, a switched feed and a button.
How is a third function valve wired?
The coil needs a fused positive feed through a switch or relay, and a ground. With a relay module, supply goes to COM, NO goes to the coil, and the coil return goes to ground.
Can I put the third function on the tractor joystick?
Yes, if the tractor has ISOBUS and AUX-N. Put the coil on a relay channel of an ISOBUS module and assign that channel to a joystick or armrest button in the AUX-N menu. Without AUX-N, you switch it from the tractor screen.
Do I need ISOBUS for a third function?
No. A push button and a relay work on any tractor. ISOBUS helps when the joystick is part of a CAN bus armrest and there is no good place for an extra button.
What about a fourth function?
A fourth function needs a second selector valve or an 8/3 valve with two coils. Each coil goes on its own relay channel and its own button.
Need an ISOBUS relay module for a loader selector valve, work lights or other solenoids? ISOBUS Block gives you 8 relay outputs controlled from the tractor screen and AUX-N buttons. Prices are in the shop.