
In short: ISOBUS Block puts a snow plough's left and right wings on the tractor's joystick and ISOBUS screen, each wing on its own or both together. Wire the wing solenoids to its relay channels, set up one button per wing and one for both, and assign them to AUX-N buttons on the armrest or joystick. The plough's hydraulics stay as they are. The control box and its cable come out of the cab.
Snow plough wing control on most tractors still means a separate box in the cab. A panel on a bracket, or a remote on a curly cable, with the lead going out through the back window or the door seal. On a tractor with an ISOBUS screen and a joystick full of programmable buttons, that box is the odd one out.
An operator in Sweden asked us exactly this about a John Deere: can the plough's outer wings go on the loader joystick, left and right, each on its own or both together? This post shows how to plan the channels, what to wire and where the module goes. For the general case of retiring a cab box, see Replace the Cab-Mounted Switch Box with ISOBUS AUX-N. The parts for this job: Snow plough controller on the tractor joystick.
What stays the same on the snow plough
Only the control side changes. The plough keeps its cylinders, its valve block and its rubber hoses with steel fittings. The tractor's hydraulic supply stays as it is.
The wings move on solenoid valves on the plough. Power a coil, the valve opens, and oil goes to that wing's cylinder. The old control box only switches those coils on and off.
On an ISOBUS tractor, ISOBUS Block switches a snow plough's wing solenoids from buttons the tractor already has, with no control box in the cab. Each coil goes on one relay channel: button press, relay switches, valve opens, wing moves. You assign the wings to AUX-N buttons on the armrest or joystick, one button per wing and one for both. If your terminal has no AUX-N, the same buttons work from the tractor screen.
ISOBUS Block runs on any ISOBUS tractor terminal and has been manually tested on all major brands, with customers running it daily on Fendt, Valtra, John Deere, Case IH, CLAAS, New Holland and Massey Ferguson tractors and on the AmaTron 4 from Amazone, Jaltest and Arag add-on terminals.
Count the coils before you plan the channels
Find out how many coils your plough has and what each one does. The plough's manual, the old control box or the valve block will tell you. Two layouts come up often.
Layout A: one coil per wing
The tractor's hydraulic remote valve (spool valve or SCV) supplies the oil and decides the direction, out or in. A coil on the plough decides which wing gets that oil. Left coil on: the left wing moves. Both coils on: both wings move. The same principle lets you run several hydraulic functions from one spool valve.
This needs 2 channels.
Layout B: one coil per wing and direction
The plough's valve block has a coil for each movement: left out, left in, right out, right in. The tractor supplies the oil, and the coils decide both which wing moves and in which direction.
This needs 4 channels.
A different layout follows the same rule: one coil, one channel. Write down which coils each switch on the old box powered, and copy that. Check the coil voltage too. A 12 V coil needs a 12 V supply, and each channel switches up to 10 A.
Snow plough channel plan for ISOBUS Block
ISOBUS Block has 8 relay channels, CH1 to CH8. On the tractor screen you build buttons, and each button switches one or more channels. That is how "both wings together" works: one button linked to the channels of both wings.
Layout B on ISOBUS Block
| Button name | Channels | Mode |
|---|---|---|
L OUT | CH1 | MOM |
L IN | CH2 | MOM |
R OUT | CH3 | MOM |
R IN | CH4 | MOM |
BOTH OUT | CH1 + CH3 | MOM |
BOTH IN | CH2 + CH4 | MOM |
MOM (momentary) keeps the coil on only while you hold the button, like a push button on a control box. Six buttons, four channels. CH5 to CH8 stay free for work lights or a beacon on the plough frame.
Layout A on ISOBUS Block
| Button name | Channels | Mode |
|---|---|---|
LEFT | CH1 | MOM or TOG |
RIGHT | CH2 | MOM or TOG |
BOTH | CH1 + CH2 | MOM or TOG |
With MOM, you hold the wing button and move the tractor's lever at the same time. With TOG (toggle), one press selects the wing, you move the lever, and the next press switches the coil off again. Pick the one that suits how you drive.
With both wings selected, how evenly they move depends on the plough's hydraulics. The relays only open the valves.
Button names take up to 8 characters. The name you type is the name you see later in the AUX-N menu.
Where the module goes on a front-plough tractor
The plough is at the front. The module plugs into an ISOBUS socket in the cab, or into the front external socket where the tractor has one.
| Where | Connects to | Supply for the coils | Notes |
|---|---|---|---|
| In the cab | In-cab ISOBUS connector, with the In-Cab Connector Kit | Your own fused +12 V or +24 V feed, for example from the battery | Run the relay leads forward to a plug that mates with the plough's connector |
| On the tractor chassis | Front external ISOBUS connector, where fitted, with the External Connector Kit | The socket's own fused supply | Needs a weatherproof enclosure |
| On the plough | Front external ISOBUS connector, with the External Connector Kit | The socket's own fused supply | Needs a weatherproof enclosure. The module comes off with the plough in spring |
The bare module is IP20, built for a DIN rail. Anywhere outside the cab it needs a weatherproof enclosure. It is rated for −30 °C to +50 °C. Both connector kits ship with loose contacts, so you crimp them onto your own cable. Pinouts for both sockets are on the docs page.
Not every tractor has a front ISOBUS socket. Without one, the in-cab route is the clean option. If you do use the front socket, read up on running front and rear ISOBUS implements together, and check whether your tractor wants a terminator plug on the front socket when the plough is off.
For a running chassis-mounted install, see the Fendt 724 tractor-side build: enclosure under the cab, fed from the rear socket.
Wiring each coil
Every channel has COM, NO and NC terminals. Fused supply goes to COM, NO goes to the coil's positive side, and the coil return goes to ground. When the channel switches on, NO closes to COM and the coil gets power. The solenoid valve wiring guide goes through coil wiring in more detail.
Assigning the plough wings to joystick buttons
Plug the module in and it shows up on the tractor screen like any ISOBUS implement.
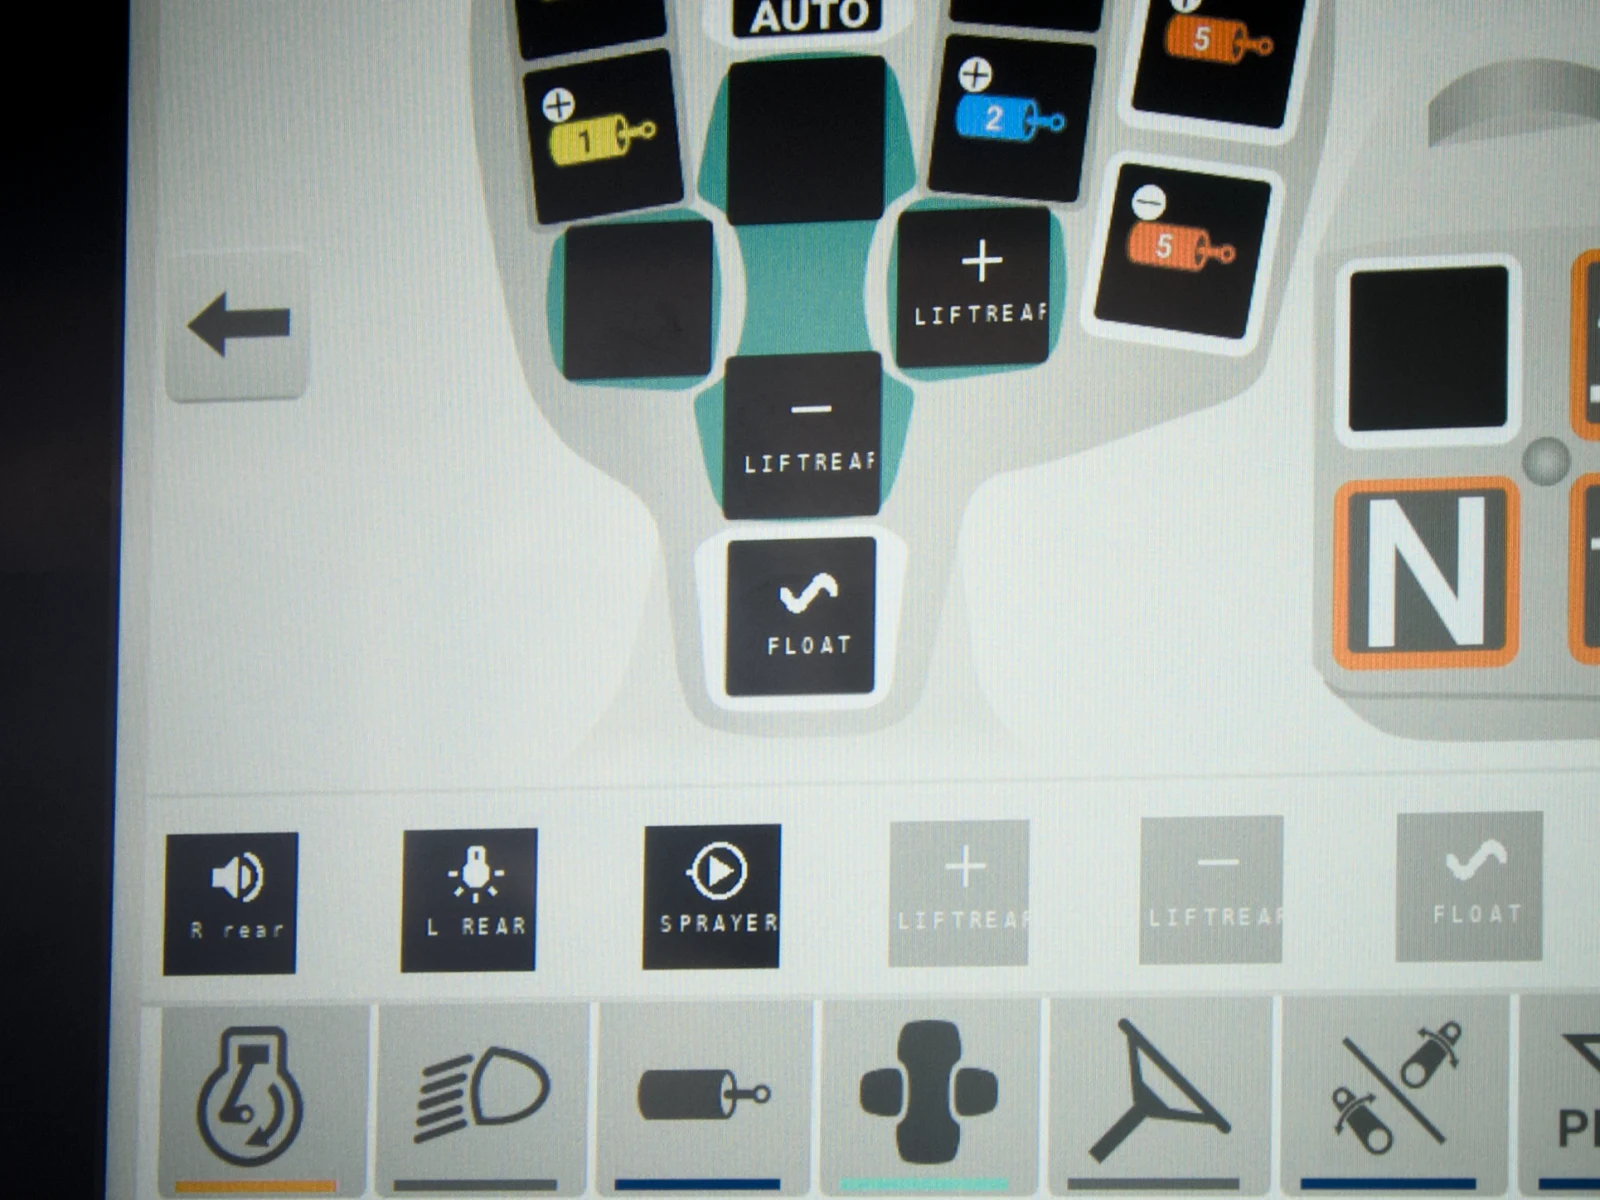
AUX-N assignment on a Fendt terminal. The names typed on the Block's buttons are the names in this menu.
- Press
EDITon the side softkeys. The buttons turn blue. - Tap
BTN 1. Type the name, for exampleL OUT, and pick an icon. - Select the channel or channels the button switches, and set
MOMorTOG. - Repeat for each button, then leave edit mode to save.
- Open the tractor's AUX-N assignment menu and drop each plough button onto a joystick or armrest button.
Which buttons appear in that menu depends on the tractor. Some joysticks, loader joysticks included, offer their buttons to AUX-N, and some do not. Check the list in the assignment menu before you decide where the wings go. On a John Deere the menu is called auxiliary control; the John Deere ISOBUS guide has the path. The AUX-N complete guide covers the assignment step by step for other brands.
No AUX-N on your terminal? The buttons still work from the tractor screen.
Keep a winter preset
If the module stays on the tractor all year, keep the plough buttons in their own preset, under the PRESETS softkey. When the plough comes off in spring, load another preset for whatever those channels do in summer. The buttons, names and channel links change with the preset.
Setup, support and delivery
- Setup: 5 to 10 minutes on the tractor terminal, naming the buttons and picking their icons. Nothing to install on a computer.
- First use: the same day the module arrives.
- Support: on WhatsApp and by email, answered by the people who design and build the module. On WhatsApp a reply typically comes within minutes during the working day. Every message gets an answer within one business day.
- Warranty: 5 years.
- Shipping: free express shipping. Orders ship the next business day.
Frequently asked questions
What is the easiest way to control snow plough wings from the tractor joystick?
On an ISOBUS tractor, wire the plough's wing solenoids to the relay channels of ISOBUS Block. Set up one button per wing and one for both on the tractor screen, then assign them to joystick or armrest buttons in the AUX-N menu. The plough's hydraulics stay as they are, and the control box comes out of the cab.
Can I control snow plough wings from the tractor joystick?
Yes, with ISOBUS Block, on an ISOBUS tractor whose joystick or armrest buttons support AUX-N. Without AUX-N, you switch the wings from the tractor screen.
Can both plough wings move together from one button?
Yes, ISOBUS Block can link one button to the channels of both wings. A BOTH OUT button that switches CH1 and CH3 powers both coils at once, while L OUT and R OUT still work on their own.
My tractor has no front ISOBUS socket. Can I still do this?
Yes. Plug the module into the in-cab ISOBUS connector, feed the relay COM terminals from your own fused supply, and run the relay leads forward to the plough's connector.
Can I get rid of the snow plough control box in the cab?
Yes, once every function on the box has a channel and a button. The box and its cable through the window come out. The plough's hydraulics stay as they are.
Does it work on a John Deere?
Yes. ISOBUS Block has been tested on older and newer John Deere displays, and customers run it on Deere tractors every day. The buttons map to the joystick through Deere's auxiliary control menu.
What if I get stuck during the install?
Message ISOBUS Block support on WhatsApp or by email. The people who design and build the module answer, and on WhatsApp a reply typically comes within minutes during the working day. A photo of the wiring or the screen with your question is enough to start. If your terminal ever does not show the module, we sort it out with you.
Need to move a plough's wing solenoids, work lights or other valves onto the tractor's own buttons? ISOBUS Block provides 8 relay outputs controlled from your tractor's screen and AUX-N buttons. The same idea on a loader: the front loader third function guide.