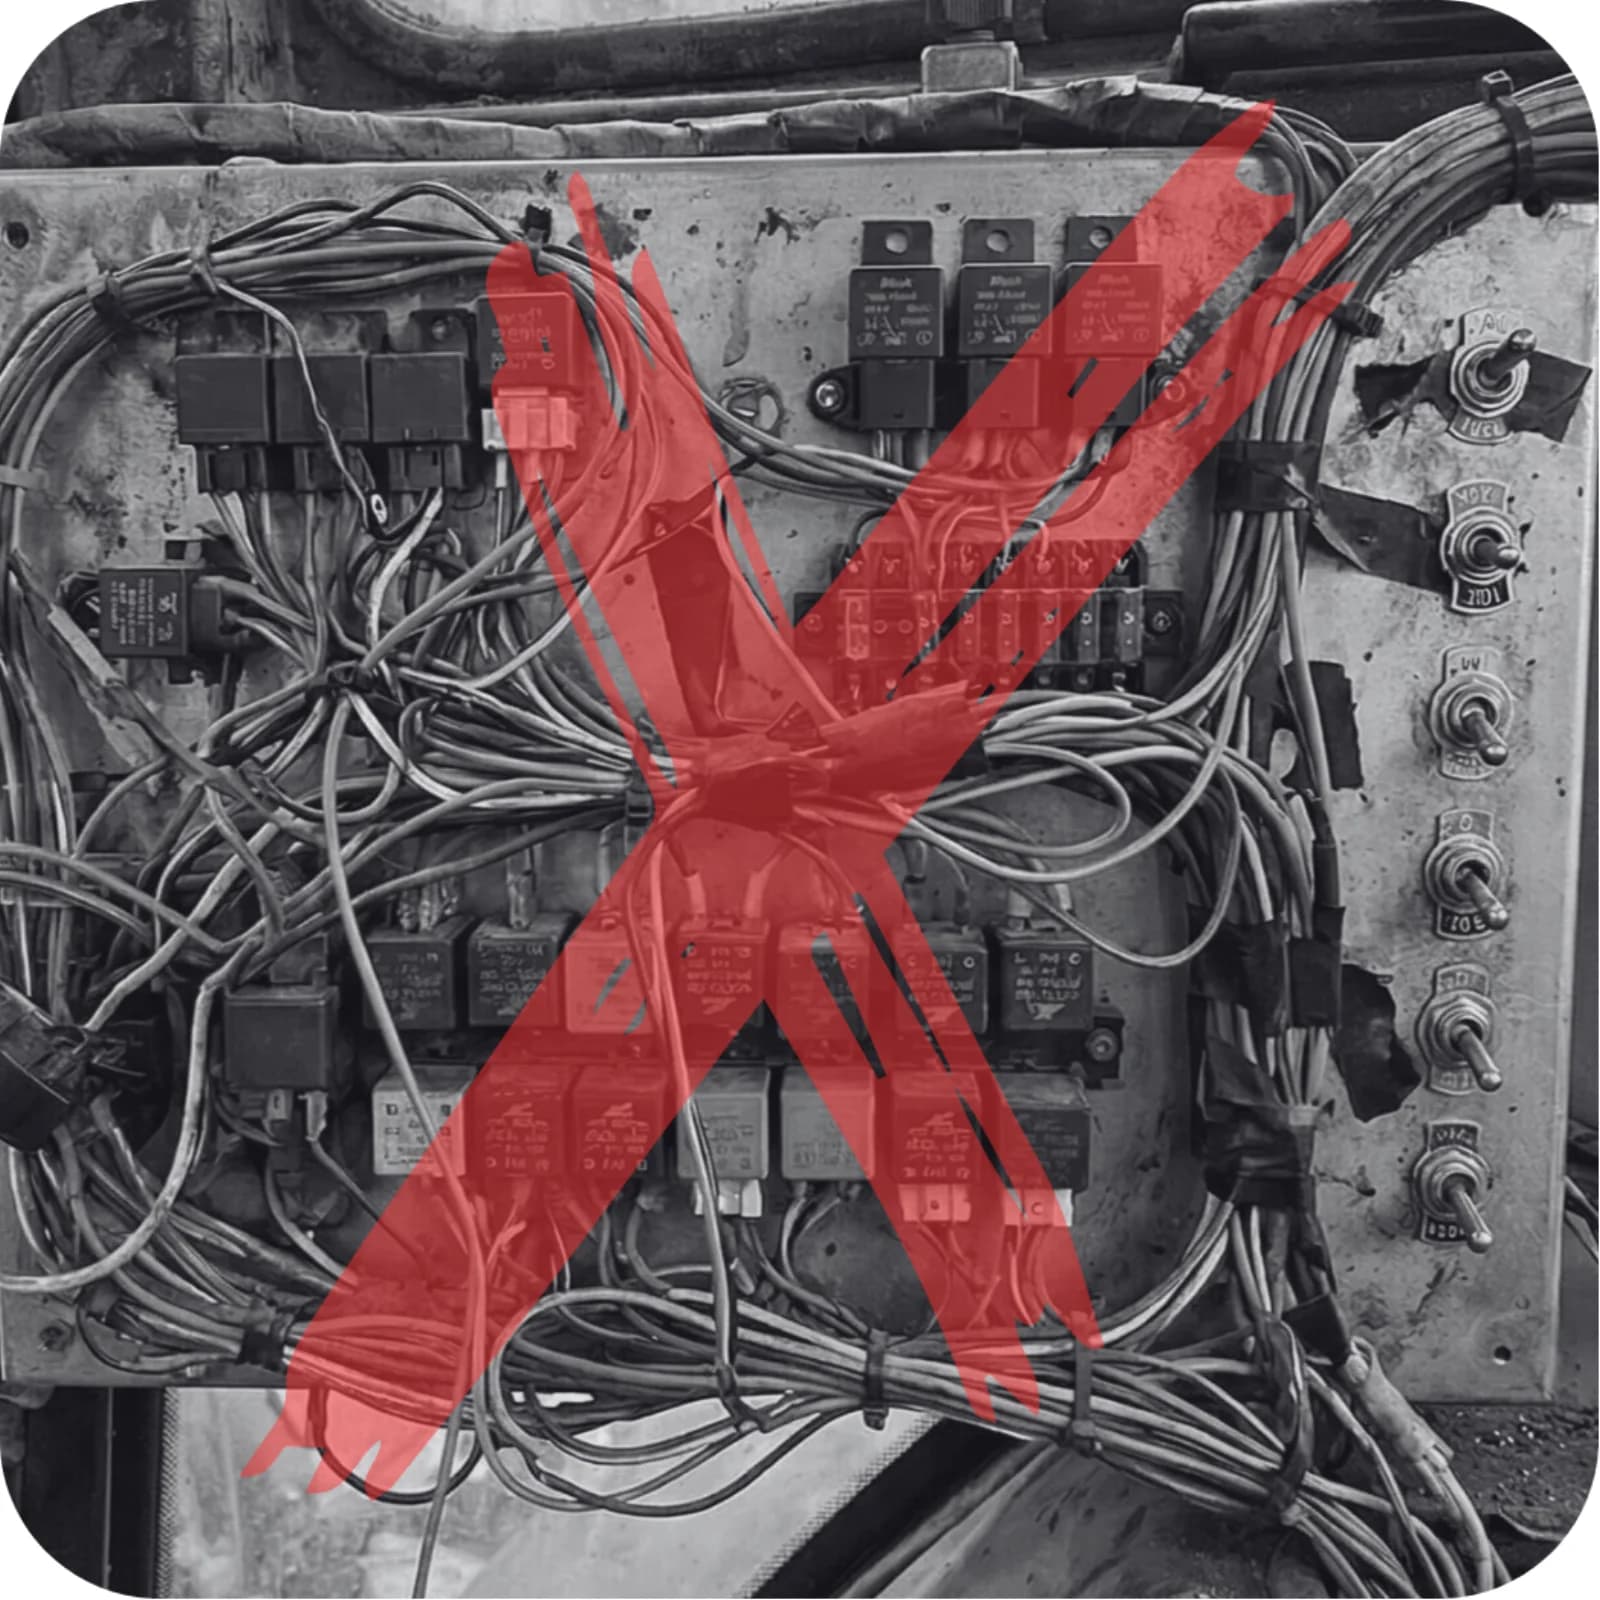
In short: Replace the cab-mounted toggle panel with ISOBUS Block on the implement, and run the same 8 outputs from the tractor's screen and joystick buttons. One ISOBUS cable goes to the tractor's rear socket. No hole in the window, no dash bracket. The relays switch the same solenoids, valves and lamps the toggles did, and the load wiring on the implement stays unchanged.
Every farm shop has a cab-mounted switch box in a drawer. A rectangular plastic panel, 1 to 8 mechanical toggles across the front, a fat multi-conductor cable coming out the back. Someone mounted it on the dash or the A-pillar of the tractor, drilled a hole through the back window, and ran the cable down to the sprayer, the trailer, or the drill. The AG-Express SB-8 is the archetype, but the same switch panel is sold under a dozen names.
This post is about replacing that box with an ISOBUS relay module on the implement, and running the same 8 outputs from the screen and joystick the tractor already has. What changes, what stays, and the honest cases where the old panel should be left alone.
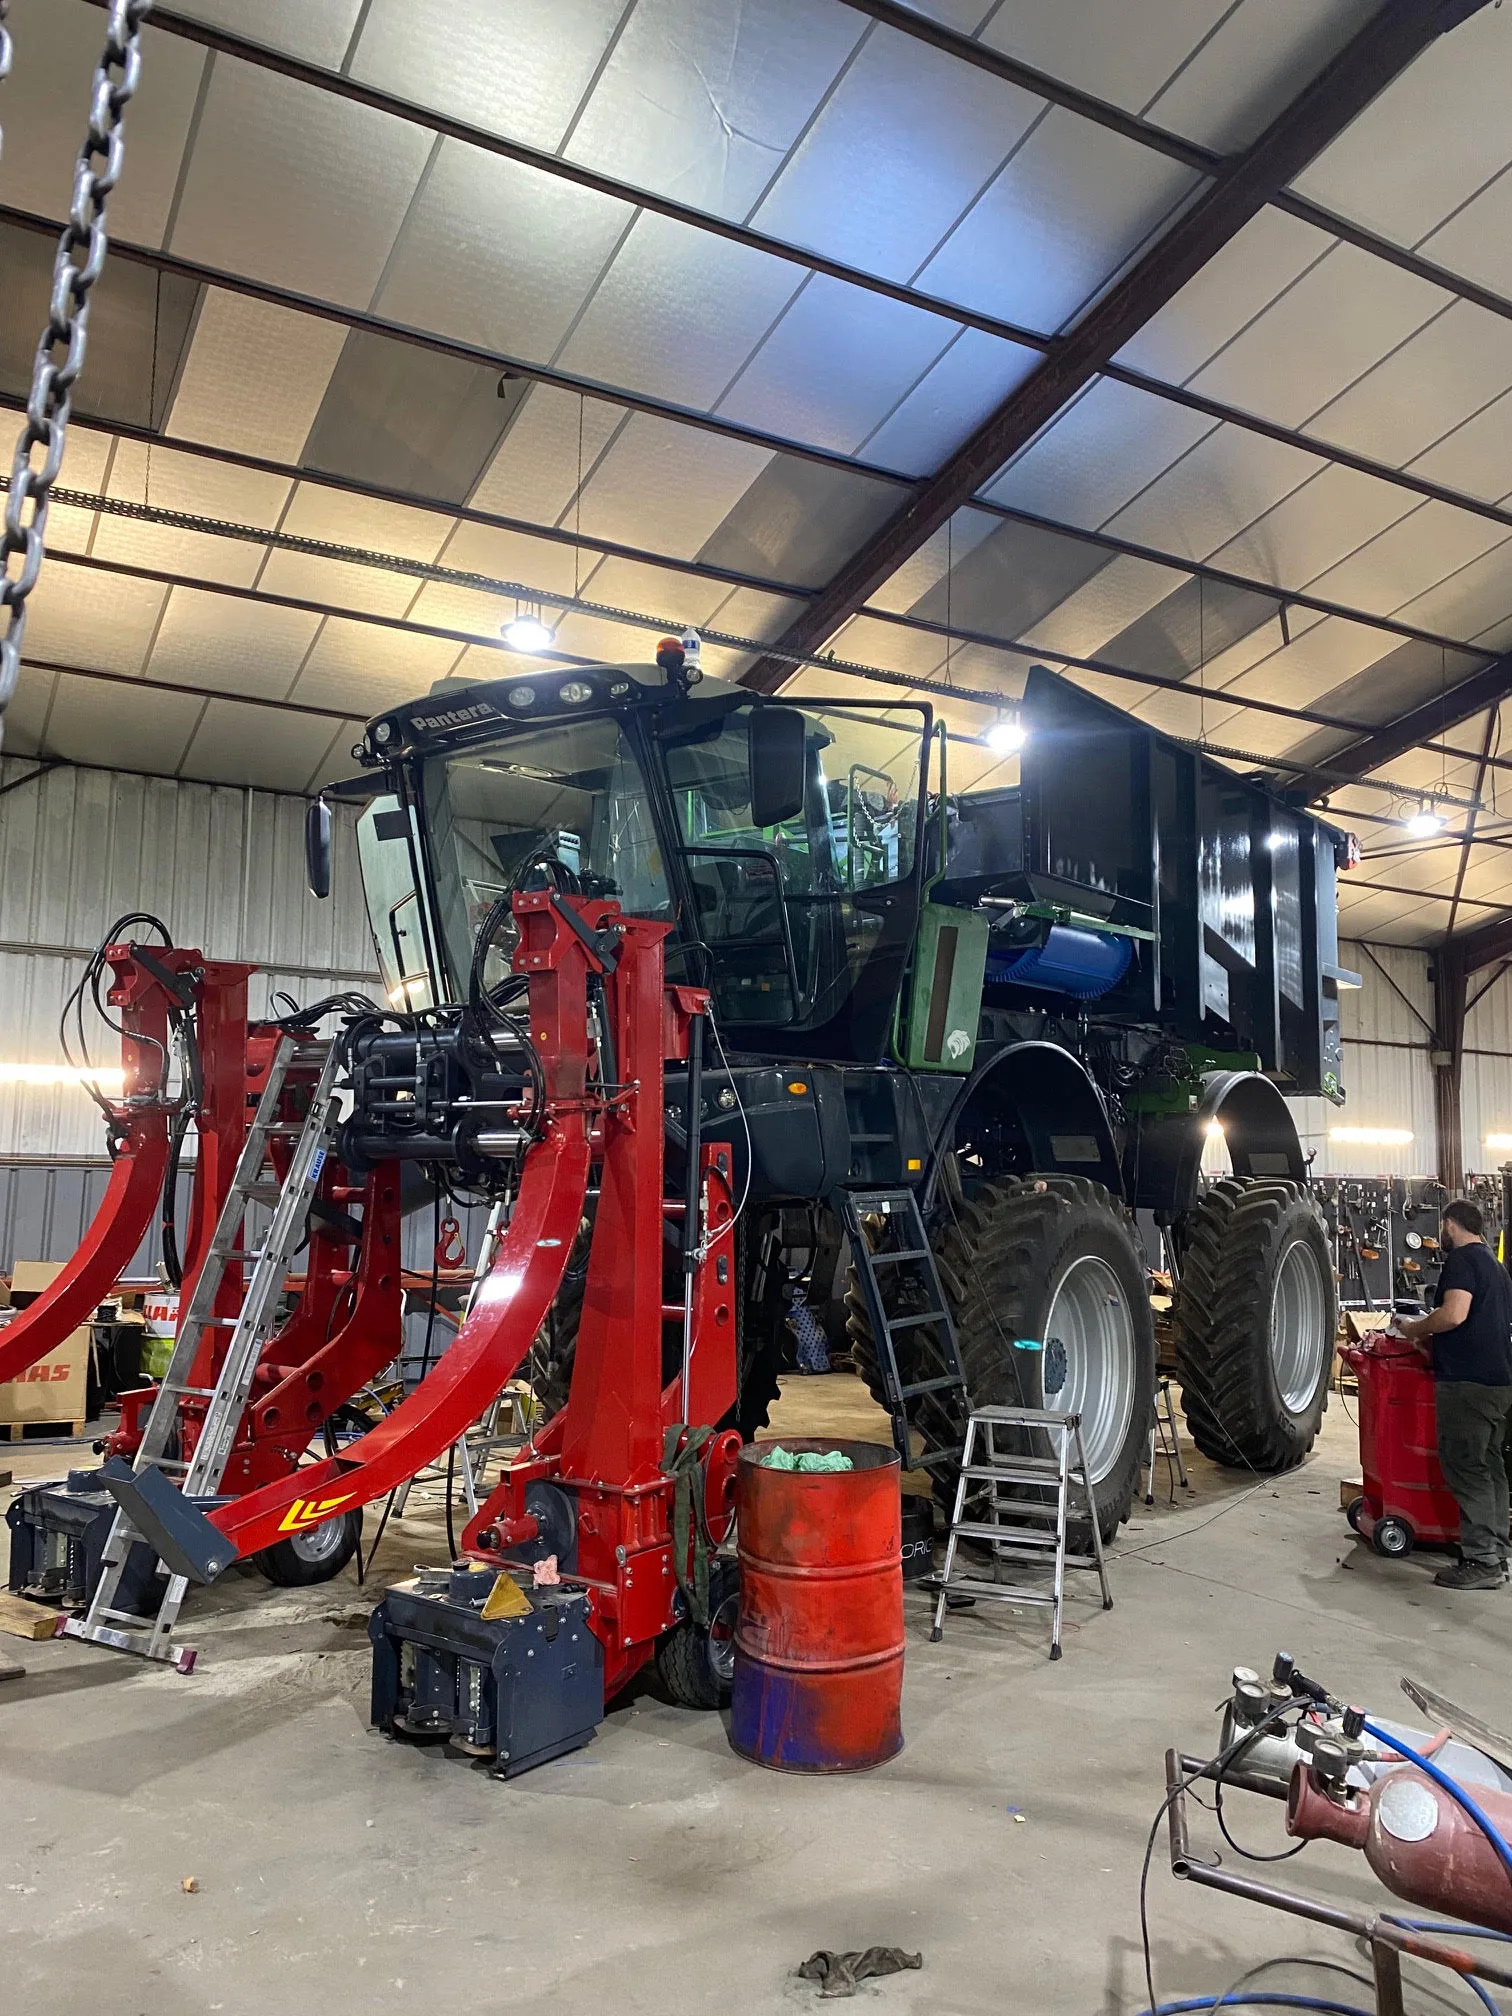
A customer's 32-channel Block on an Amazone Pantera sprayer. Modules ship bare; the customer supplied the enclosure. The 8-channel unit works the same way.
What the cab-mounted switch box actually is
The cab-mounted switch box is a piece of aftermarket wiring that predates ISOBUS. Rows of 1 to 8 toggles, each toggle wired to one solenoid, valve, or lamp on the implement. Push a toggle, current flows down the cable to that one load. That is the entire circuit. Every non-ISOBUS implement works this way, whatever the badge on the panel says.
It works. A generation of farmers wired one to every sprayer, drill, and trailer they owned. It also has properties nobody chose:
- The box lives in the cab. Mounting means drilling into the dash or fitting a bracket somewhere the operator can reach.
- The cable to the implement runs through the cab wall, usually a hole drilled through the back window with a rubber grommet that goes brittle over ten winters.
- The panel is dedicated to one implement. Move to a different sprayer and you either move the box, run a second box, or wire a bespoke adapter.
- The toggles wear. Every operator knows which one is the wobbly one.
- Nothing on the box tells you whether the load actually switched. A blown fuse or a stuck relay looks the same from the cab.
None of this was a design mistake in 1998. It was the tool people had. On a tractor with no data bus, no screen, and no joystick worth using, a row of toggles on the dash is exactly right.
Why it fails on a modern ISOBUS tractor
The tractor changed. A current-model Fendt, John Deere, Valtra, or Case IH already carries:
- A Virtual Terminal screen (the ISOBUS display, sometimes called UT).
- A joystick and armrest with programmable buttons ready to be mapped over AUX-N.
- A standardised 9-pin ISOBUS socket, in the cab and on the rear, that carries CAN and power to any implement that speaks the protocol.
Against that hardware, the old switch box looks its age:
- The operator takes a hand off the joystick to reach a dash toggle. That is one hand away from the steering wheel and one glance away from the field.
- The tractor's own screen sits there running maps, guidance, and monitors, while a separate plastic panel with no feedback controls the implement.
- Swap tractors and the whole rig moves. There is no software configuration, no AUX-N binding, no memory of which button did what.
- Diagnostics are bench work. If a channel does not switch, the answer is a multimeter at the end of the day.
The mismatch is not the toggle box itself. It is running a 1998 control layout on a tractor that has been able to switch implement functions from its own screen since AUX-N support went mainstream in the mid-2010s.
What ISOBUS Block replaces it with
An 8-channel ISOBUS relay module mounts on the implement, in a weatherproof box the operator supplies or a custom enclosure that ships with the build. One ISOBUS cable runs from the module to the tractor's rear external ISOBUS socket. That is the entire tractor-side install.
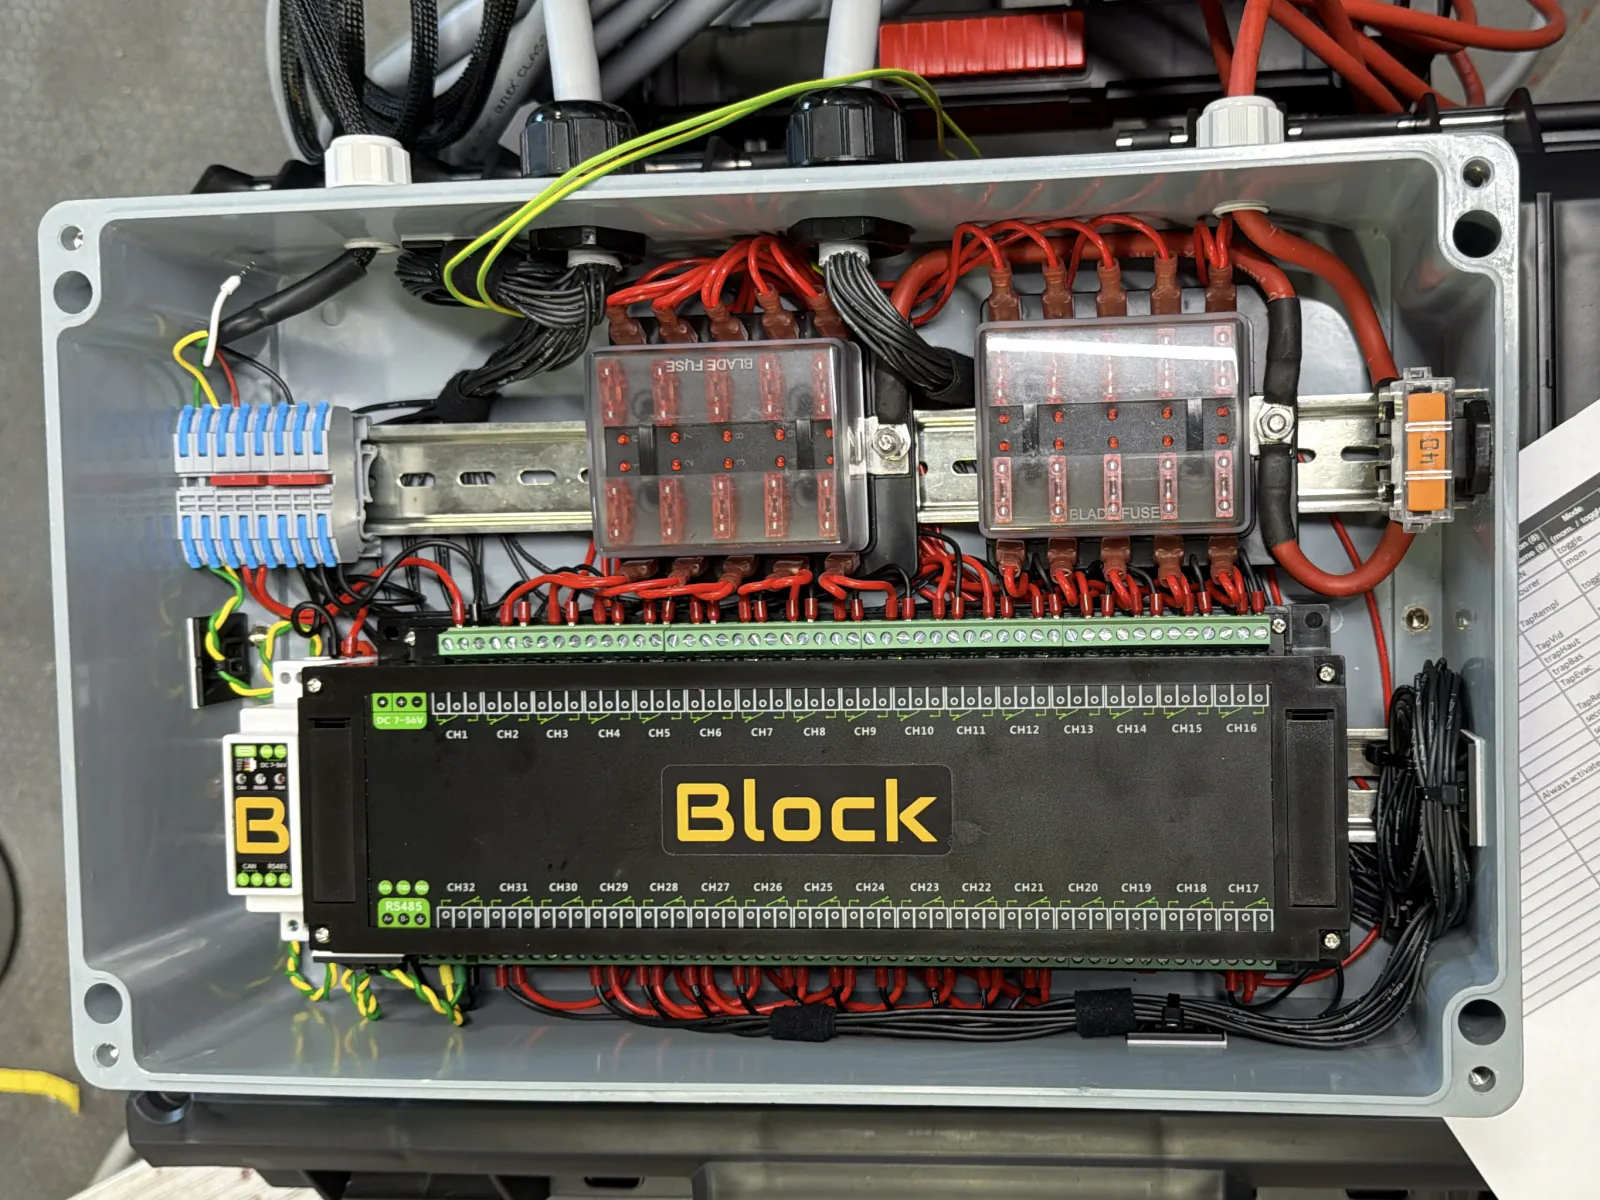
Closer view of the same build. The 8-channel module bolts in the same way.
From there:
- The module registers on the ISOBUS network. The 8 channels show up on the tractor's Virtual Terminal as
CH1throughCH8, each with a user-editable name and icon set from the screen. - Each of the module's 8 buttons, one per channel by default, can be assigned to a physical AUX-N button on the tractor's joystick or armrest. Press the assigned button, the relay switches. The operator never takes a hand off the joystick.
- Channels are per-channel
TOG(latching) orMOM(momentary), configured on the screen. The old choice between SPST and momentary toggles at the parts counter is now a firmware setting. - Config lives in the module. Unplug from one tractor, plug into the next, and the button labels and icons come back on the new tractor's VT.
- Every channel is 10 A, switched with
NO/COM/NCscrew terminals. That is the same envelope the toggles on the old box switched.
No hole in the window. No dash bracket. No cable through the cab. For the deeper detail on how AUX-N binds a module's functions to the tractor's own buttons, see the ISOBUS AUX-N complete guide.
What stays the same
Only the control side changes. This is the part that tends to sell the swap, and it is worth being precise about.
| Old switch box | ISOBUS Block |
|---|---|
| Toggle in the cab | Softkey on the VT, or AUX-N button on the joystick |
| Multi-conductor cable through the window | One ISOBUS cable to the rear socket |
| One wire per toggle to the load | One relay per channel driving the same load wire |
| The solenoid, valve, or lamp | The same solenoid, valve, or lamp |
| Load-side wiring on the implement | Load-side wiring on the implement, unchanged |
If the old box drove eight solenoids on a sprayer, the eight load wires that used to run from the toggle contacts stay in place. They land on the module's NO and COM terminals instead, as in the solenoid valve wiring guide. Hydraulic hoses, valve blocks, coils, lamps: none of that changes. Block switches relays, and the relays switch what the toggles used to switch. For the same story told from the joystick side, see Replace an Implement Joystick with ISOBUS AUX-N.
Migrating: just swap the control side
The honest migration story is short. The operator takes the load wires off the toggle contacts and lands them on the module's screw terminals. The multi-conductor cable through the back window comes out. An ISOBUS cable goes into the tractor's rear ISOBUS socket. Names and icons for each channel are typed in on the VT. AUX-N buttons are assigned from the tractor's own assignment menu.
Either way, the work is on the tractor and the module. The hydraulics stay as-is.
For a broader look at fitting a module to an implement that has never seen ISOBUS, our ISOBUS retrofit guide covers the wider picture. For the general case of switching 12 V or 24 V loads from the tractor screen, see Control Any 12V/24V Device from Your ISOBUS Terminal. And if the implement has specific connector requirements or a channel count that does not match 8, an ISOBUS Block custom build ships hardware pre-configured for one machine, with connectors, cable lengths, and button names set before delivery.
When to leave the old switch box alone
Not every tractor is worth the upgrade. The switch box exists for a reason on some machines:
- No Virtual Terminal. Block is configured through the VT. A tractor without one, or one where the VT costs more than the module, cannot set up the module in the first place.
- No AUX-N support. AUX-N has been standard on new ISOBUS tractors since the mid-2010s, but older ISOBUS tractors sometimes ship VT-only. The module still works from screen softkeys, but a lot of the value in moving off toggles is having the joystick and armrest buttons switch the loads.
- No ISOBUS on the tractor at all. Block only speaks ISOBUS. No socket, no way to plug in. See the ISOBUS compatibility guide for the checklist.
In these three cases the answer is: the old switch box is doing what it was built for, and nothing on the ISOBUS side improves it. Keep it. If the tractor does have ISOBUS and the real question is whether to build the box yourself, the build-or-buy comparison of ISOBUS Block and a DIY relay box puts both routes side by side. The comparison of ISOBUS Block alternatives lines up the switch box, a DIY relay box and the module in one table.
Frequently asked questions
Do I need to rewire my implement for ISOBUS?
No. Block replaces the control side only. The load-side wiring on the implement stays: same solenoids, same valve blocks, same lamps, same load wires. The wires that used to land on the toggle contacts now land on the module's NO and COM terminals.
What tractor do I need for an ISOBUS relay module?
It needs an ISOBUS tractor with a Virtual Terminal for setup. For the full benefit (control from the joystick and armrest), the tractor also needs AUX-N. Most tractors sold since the mid-2010s carry both. See the ISOBUS compatibility guide for a checklist.
Do I have to drill a new hole in the cab?
No. The ISOBUS cable plugs into the socket the tractor already has, in the cab or on the rear. No dash mount, no new hole through the back window, no dedicated harness routed around the cab.
Can I replace an AG-Express SB-8 with ISOBUS?
Yes. The SB-8 and the many identical 1-to-8 toggle panels sold under other names are exactly the case this post covers. Land the load-side wires on the module's NO and COM terminals, remove the toggle panel and the multi-conductor cable through the cab wall, plug one ISOBUS cable into the rear socket. Same eight loads, controlled from the tractor's screen and AUX-N buttons.
How many devices can one ISOBUS relay module control?
Eight, on the standard 8-channel module. Each channel is 10 A at 12 V or 24 V. A custom build can be any channel count; see the custom build page for how that works.
What if my implement moves between tractors?
Block travels with the implement. Config lives in the module, so unplugging from one ISOBUS tractor and plugging into the next brings the button names, icons, and channel behaviour back on the new tractor's VT. AUX-N assignments are set once per tractor, on the tractor's own assignment menu.
Need an ISOBUS relay module for controlling solenoids, work lights, or hydraulic valves? ISOBUS Block provides 8 relay outputs controlled directly from your tractor's Virtual Terminal display.